For this challenge, we were given a 5" by 5" piece of aluminium foil and were challenged to make a boat that could hold the most pennies. We were given two attempts, which allowed us two design attempts. My group was composed of Ian, Michael, and me. Our group tried two vastly different designs, starting with one of the worst designs, a hat. This, of course, immediately sank after only 7 pennies were added. Our second design was much better, and was simply a box with walls. This boat performed much better, holding 28 pennies before sinking. Though this showed growth, it was still a far shot from the winning ammount of 64 pennies. Were we to attempt another try, we would do the same square boat with higher walls, since our second design performed better than the first and would have held more had the walls been higher. Through this challenge, we learned to take both tries seriously and to not squander any attempts.
For this challenge we were instructed to build a tower out of spaghetti and masking tape, string was also allowed but we didn't use any. A marshmallow had to be supported on top of the structure, and height would be measured from the table to the top of the marshmallow. My group was composed of me, Naelin, Audrey, and Michael. Our group decided to build a pyramid with a triangular base to attempt to build higher than the other groups. This was going fairly well, however we ran out of time and were unable to finish the build, making our entire structure, though standing, completely useless, which earned us a score of zero. From this challenge, I learned that time management is key, and improperly managing time is a good way to fail.
Many things went wrong this challenge, and many things went right. For this challenge, we had quickly came up with an idea which we all believed would work and everyone agreed on the design. However, our management of time had much to be desired. Though we quickly came up with a design, we did not know when to stop building and wasted much time on pointless aspects. Participation could have improved, because we had only one person doing the building, due to it being a delicate proceedure. Leadership could have improved, but only to the point of getting more people working. Results would have been greatly improved had we had time to finish our tower.
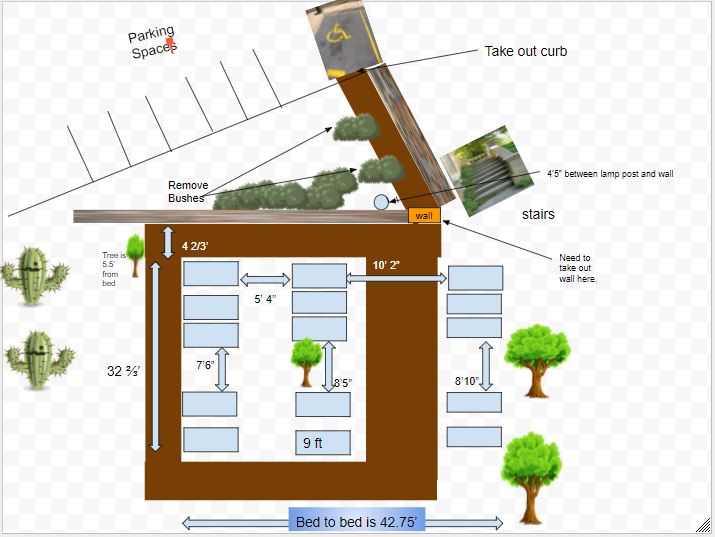
This challenge takes a different nature when compared to the others. This, instead of building simple structures to learn basic engineering principles, we were presented with a problem with no set solution. This problem entailed designing a structure, potentially a ramp, which could enable handicap access to a garden which is edged by curbs. This design has the possibility of increasing accessability for not only the handicapped, but the general populace as well. In my group, I have Taryn, Eric, and TJ.
A - The garden needs to be accessible to all students. We need to design and create something that can lift at least 600 pounds up to a raised bed. - The target population is people with mobility problems. Handicaps and the elderly would greatly benefit, as they have trouble with stairs and ledges.
B - Our mission is to make the garden easily accessible - Nathan has a lot of experience with wood and metal. Taryn's dad is a contractor. I know a kid in a wheelchair that I can talk to. T.J is good with math and physics.
C - The basic purpose of the project is to make the garden accessible to all. - People who can't use stairs and those who need a hard surface to traverse will benefit the most. The garden is built on a hill, making it difficult to access. It is also in high school, so the large This project is unique because all of the possible points of entry are either on a public sidewalk or parking lot. This means that we will need to design it to not obstruct any paths.
5 starting questions: 1.What are the legal/recommended angles for ramps? 2.Legal codes for parking spaces 3.What can we legally do to curbs? 4.What is the minimum/maximum width? 5.What is the minimum weight we need to support?
1 & 4. Maximum slope for hand-propelled wheelchair ramps should be 1" of rise to every 12" of length (4.8 degree angle; 8.3% grade). Maximum slope for power chairs should be 1.5" rise to 12" length (7.1 degree angle; 12.5% grade). Minimum width should be 36" (inside rails) - (48" is ideal).
3. REMOVING PORTIONS OF SIDEWALK; ACCUMULATIONS. No person shall loosen or remove any plank, brick, block, or support from any sidewalk or crosswalk or any curbing or gutter. This Section shall not apply to persons making repairs on any such sidewalk, gutter, curb, or crosswalk, or any person temporarily removing the same on account of building operations. No owner or occupant of any lot or parcel of ground shall permit earth or other substances to accumulate on the sidewalk along such property. (Code 1979, 16-103)
STANDARDS FOR CURB CUTS (A) Two or more curb cuts shall not be permitted on lots where narrow dimension on the abutting public right-of-way is less than 100 feet. (B) The curb cuts on corner lots shall be at least 25 feet from the intersection of the curbs of the adjacent streets extended. (C) Curb cuts on an interior tract shall have at least 20 feet between the throat CODE OF THE CITY OF LAWRENCE, KANSAS 16-3 (straight portion) of the drive at the property line. (D) The City Commission may waive the provisions of this Section. (Res. No. 4668)
Diagram of area:
Additional features of ramps: Landings: Ramps having slopes greater than one vertical to 15 horizontal shall have landings at the top and bottom and at least one intermediate landing shall be provided for each 5 feet of rise. Top landings and intermediate landings shall have a dimension measured in the direction of ramp run of not less than 5 feet. Landings at the bottom of ramps shall have a dimension in the direction of ramp run of not less than 6 feet. Handrails: Ramps having slopes exceeding one vertical to 15 horizontal shall have handrails or stair rails as required for stairways, except that intermediate stair rails shall not be required. Guardrails: Ramps more than 30 inches above the adjacent ground or floor shall be provided with guardrails as required in Section 3210 and handrails as required in (f) above. Such guardrails shall be continuous from top of the ramp to the bottom of the ramp. Surface: The surface of ramps shall be roughened or shall be of nonslip materials. https://www.google.com/shopping/product/2043040485454659752?q=grip+tape&safe=strict&rlz=1C1NHXL_enUS728US728&biw=1366&bih=662&sa=X&ved=0ahUKEwizn4y_oaXWAhUIzGMKHa_oBPAQ8wII0gIwAg grip tape, 9in x 33in
http://dpw.lacounty.gov/general/faq/index.cfm?11902=11902&Action=getAnswers&FaqID=JSNNOz1TTTQgCg%3D%3D&Keywords=1 no permit required for Platforms, walks and driveways not more than 30 inches (762mm) above grade and not over any basement or story below
A nice guide for ramp materials: :http://home.howstuffworks.com/home-improvement/construction/projects/build-wheelchair-ramp2.htm
How to build a ramp: https://www.lowes.com/projects/build-and-remodel/build-a-wheelchair-ramp/project
City Codes:
https://assets.lawrenceks.org/assets/city-code/chapter16.pdf
Heres some nice tips on ramps http://www.accessnorth.net/cilnm/ramp.pdf
Decomposed Granite: rock that is derived from granite via its weathering to the point that the parent material readily fractures into smaller pieces of weaker rock.
Here some information about decomposed granite:
The basics: Decomposed granite, or DG, is a granitic rock that has weathered to the point of breaking into very small pieces and silt-like particles. It comes in a reddish-tan color that will fade to a lighter tan over time. Decomposed granite is ideal for pathways and rustic patios, and can also be used as a topdressing around arid plants. It's sold by the cubic yard.
Cost: DG is sold by the bag for around $3 if you simply need to add to or fill in a small area, or by the cubic yard for $35 to $50. One cubic yard (a 3-foot cube) will fill the back of a standard pickup truck.
Advantages: It's relatively inexpensive and readily available.
Disadvantages: It can track inside on the bottom of your shoes, so if you have hardwood floors, you might want to take your shoes off after walking on a DG pathway. It's also difficult to remove weeds when they get out of control.
Special considerations: It's best to apply it in thin layers, watering down and tamping each layer to create a very compact surface. You can also add a stabilizer (a water-activated binder) to the decomposed granite area, which protects the DG from the damaging effects of traffic and weather while still allowing it to be permeable.
Specifications: It needs to be 2-3 inches deep and have 4” deep header boards forming the edge of the pathway.
Maintenance: You may consider installing a contractor-grade landscape fabric underneath your decomposed granite area to discourage weeds from growing, but be aware that weed seeds can still blow in from above. Stay on top of weeding by hand pulling or by carefully using an organic herbicide. DG will break down into the soil after a number of years, so you may find it necessary to add to your patio or walkway to keep it looking fresh.
Crushed granite and decomposed granite cost about $3 to $5 per cubic yard, or an average of $1 to $3 per square foot. These prices include delivery and distribution which can save time if you plan to install it as a DIY project.
How to install dg: https://southwestboulder.com/blog/how-to-install-a-decomposed-granite-pathway
https://www.kafkagranite.com/pathway-materials/standard-pathway-mix-2
The minimum, inside clear width of the opening between the opposing handrails must be at least 36 inches to accommodate a wheelchair. This means the ramp must be built at least 42-inches wide to allow for the 1 ½-inch spacing between the handrail and any surface and the actual 1 ½-inch handrail.
https://www.fixr.com/costs/reslope-for-landscaping#sQ2
http://www.improvenet.com/r/costs-and-prices/reslope-lawn-cost-estimator
https://www.lawnsite.com/threads/pricing-of-various-items.10310/
Recently we learned that the previous materials cost would be heavily inaccurate, due to using the incorrect materials and having improper designs for railing, which caused our price to more than double. With this change, we realized that it would be much easier and cheaper to simply regrade the hillside and not have to deal with railings. This has it's own costs associated with it, such as havin to move the beds, which would cause a need to change the plumbing, however, this cost would be much cheaper compared to having to make railings. Our new plan is to simply make a small sloped ramp and pathway.
Our new estimatedcost is around $5000 after taking out the rails and simply regrading and moving the beds. With this solution, issues with things such as spacing and cost are easily reduced.
For this challenge we were instructed to build a tower out of spaghetti and masking tape once again, string was also allowed but we didn't use any like the first time. A marshmallow must be placed on top of the tower and height is measured from the floor to the top of the marshmallow. My group consisted of Michael, Audrey, and Naelin. Our group decided to build a pyramid with a triangular base once again, except we planned on working faster than last time to, hopefully, be able to finish on time. Due to improper building, while testing, our tower collapsed and, since we only had around two minutes left, we decided to simply stick three strands of spaghetti through the marshmallow in a tripod shape and place it on the table. Our contraption stood and, since it was better than the zero that we had before, we had an undefined amount of improvement. We had a height of around 22 centimeters, which was the third heighest height. This repetition of a challenge taught me the importance of having a back up plan.
For this challenge we were given one piece of 8.5in.x11in. printer paper and three paper clips. We were instructed to create a bridge spanning an eight inch gap. How we would be judged would be based on how many pennies we could hold and how many paperclips we didn't use (with one paperclip equating to 25 pennies). I was in a group with Eric, Taryn, and TJ. For this challenge, we created a bridge, folded 4 times, creating a one penny span with small walls on the side which we oriented facing downward. This bridge worked very well and we ended up holding a total of 151 pennies, with the total coming to 226 pennies due to the use of no paperclips. This was the second highest score, with Michaels team having a score of 270 pennies total. Our bridge was the best of all of our prototypes and held the most pennies out of everything we tried, with the winning design having only one improvement over ours, with it having triangular guards on the sides. By completing this challenge, I learned the importance of prototyping and how mutliple iterations of a design will most likely make the final product work much better.
I am explaining how a railgun works. From what I have seen, I would assume that, without prior knowlege, the railgun would use electromagnets to repell the loaded shell. The repulsion on the shell would cause it to excellerate at a massive rate. The entire aparatus would require massive ammounts of energy.
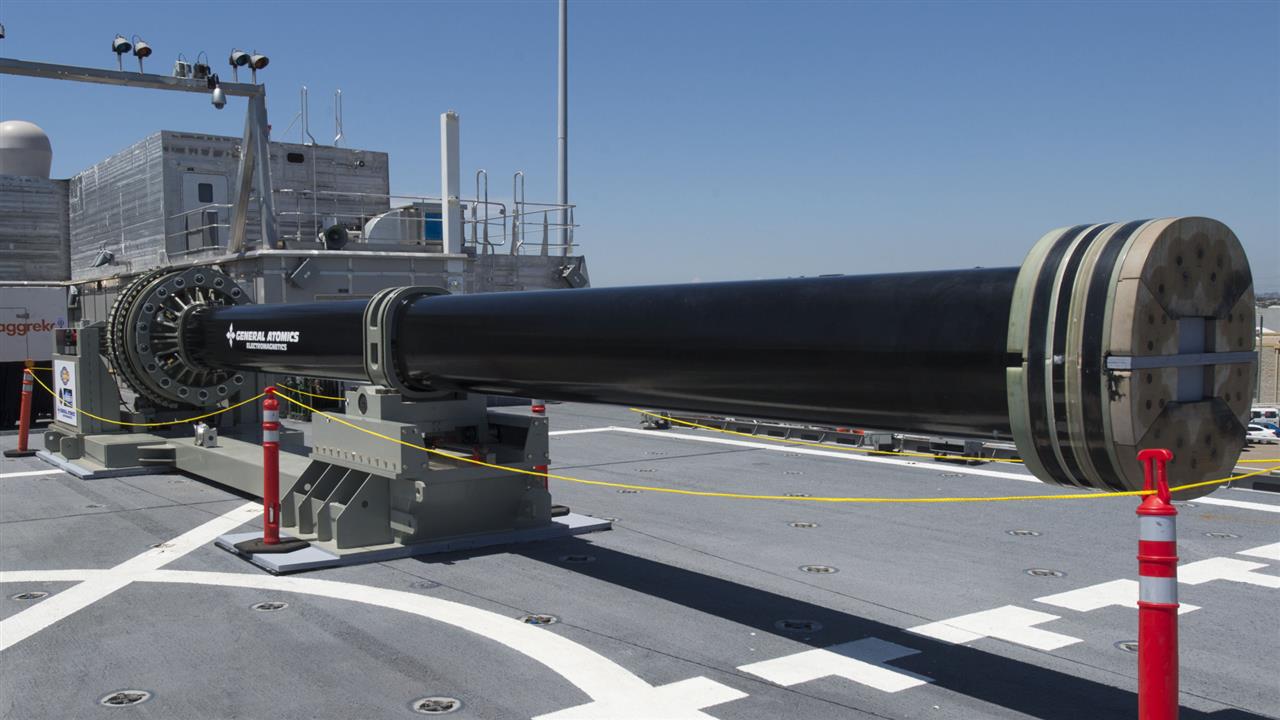
This image is of a railgun tested by the US Military.
After some research, I have seen that my initial assumption was correct, but much more simplified than the proper explaination. The Railgun is made up of three main pieces, the rails (typically made up of a highly conductive material), the power source (capable of suplying power exceeding one million amps), and the armature (typically a highly conductive metal or, in some cases, plasma) which all fit together to create a parallel circuit. The rails are set up to have opposite charges and the electrical charge moves through one rail, across the armature, and down the other rail, ending up back into the power source. This movement of energy creates a magnetic field around each rail, which is demonstrated in the image below.
This magnetic field repells the loaded shell, which is non-explosive and simply uses firing it at roughly six times the speed of sound, or 4,500 miles per hour. With these forces, they are able to fire through concrete walls over 100 miles away, with a max distance of around 250 miles away. This is much improved over the traditional gunpowder artillary used today, though problems regarding excessive heating and power use may limit its implimentation.
For this drawing I did a pencil, and the dimensions are mostly accurate, however the measurements for the eraser and the metal portion at the end were not given anywhere I had checked, so I guesstimated.

For this challenge we had to construct a bridge completely out of spaghetti and either wood glue or hot glue. There had to be a span of atleast 24 inches, support the weight of a u-bolt, and have as high of an efficiency as possible (efficiency is weight supported divided by mass of the bridge). For our design, we decided to do three straight lines of spaghetti, three lengths long, connected with triangles on the sides. Our first design did ok, getting an efficiency of 1.1, so it was able to hold a little over it's own weight, however our final design, which was a slight variation of our original design, broke immediately and had an efficiency of zero. The pieces used on the final were broken, due to my incompetency, and made the entire bridge much weaker. We only had time to do a first prototype, so our final looked exactly like the first bridge. The only difference was that instead of putting the third line on top of the triangles, I put it on the bottom of the tops of the triangles. The only picture I have of the final bridge is of the breaks.
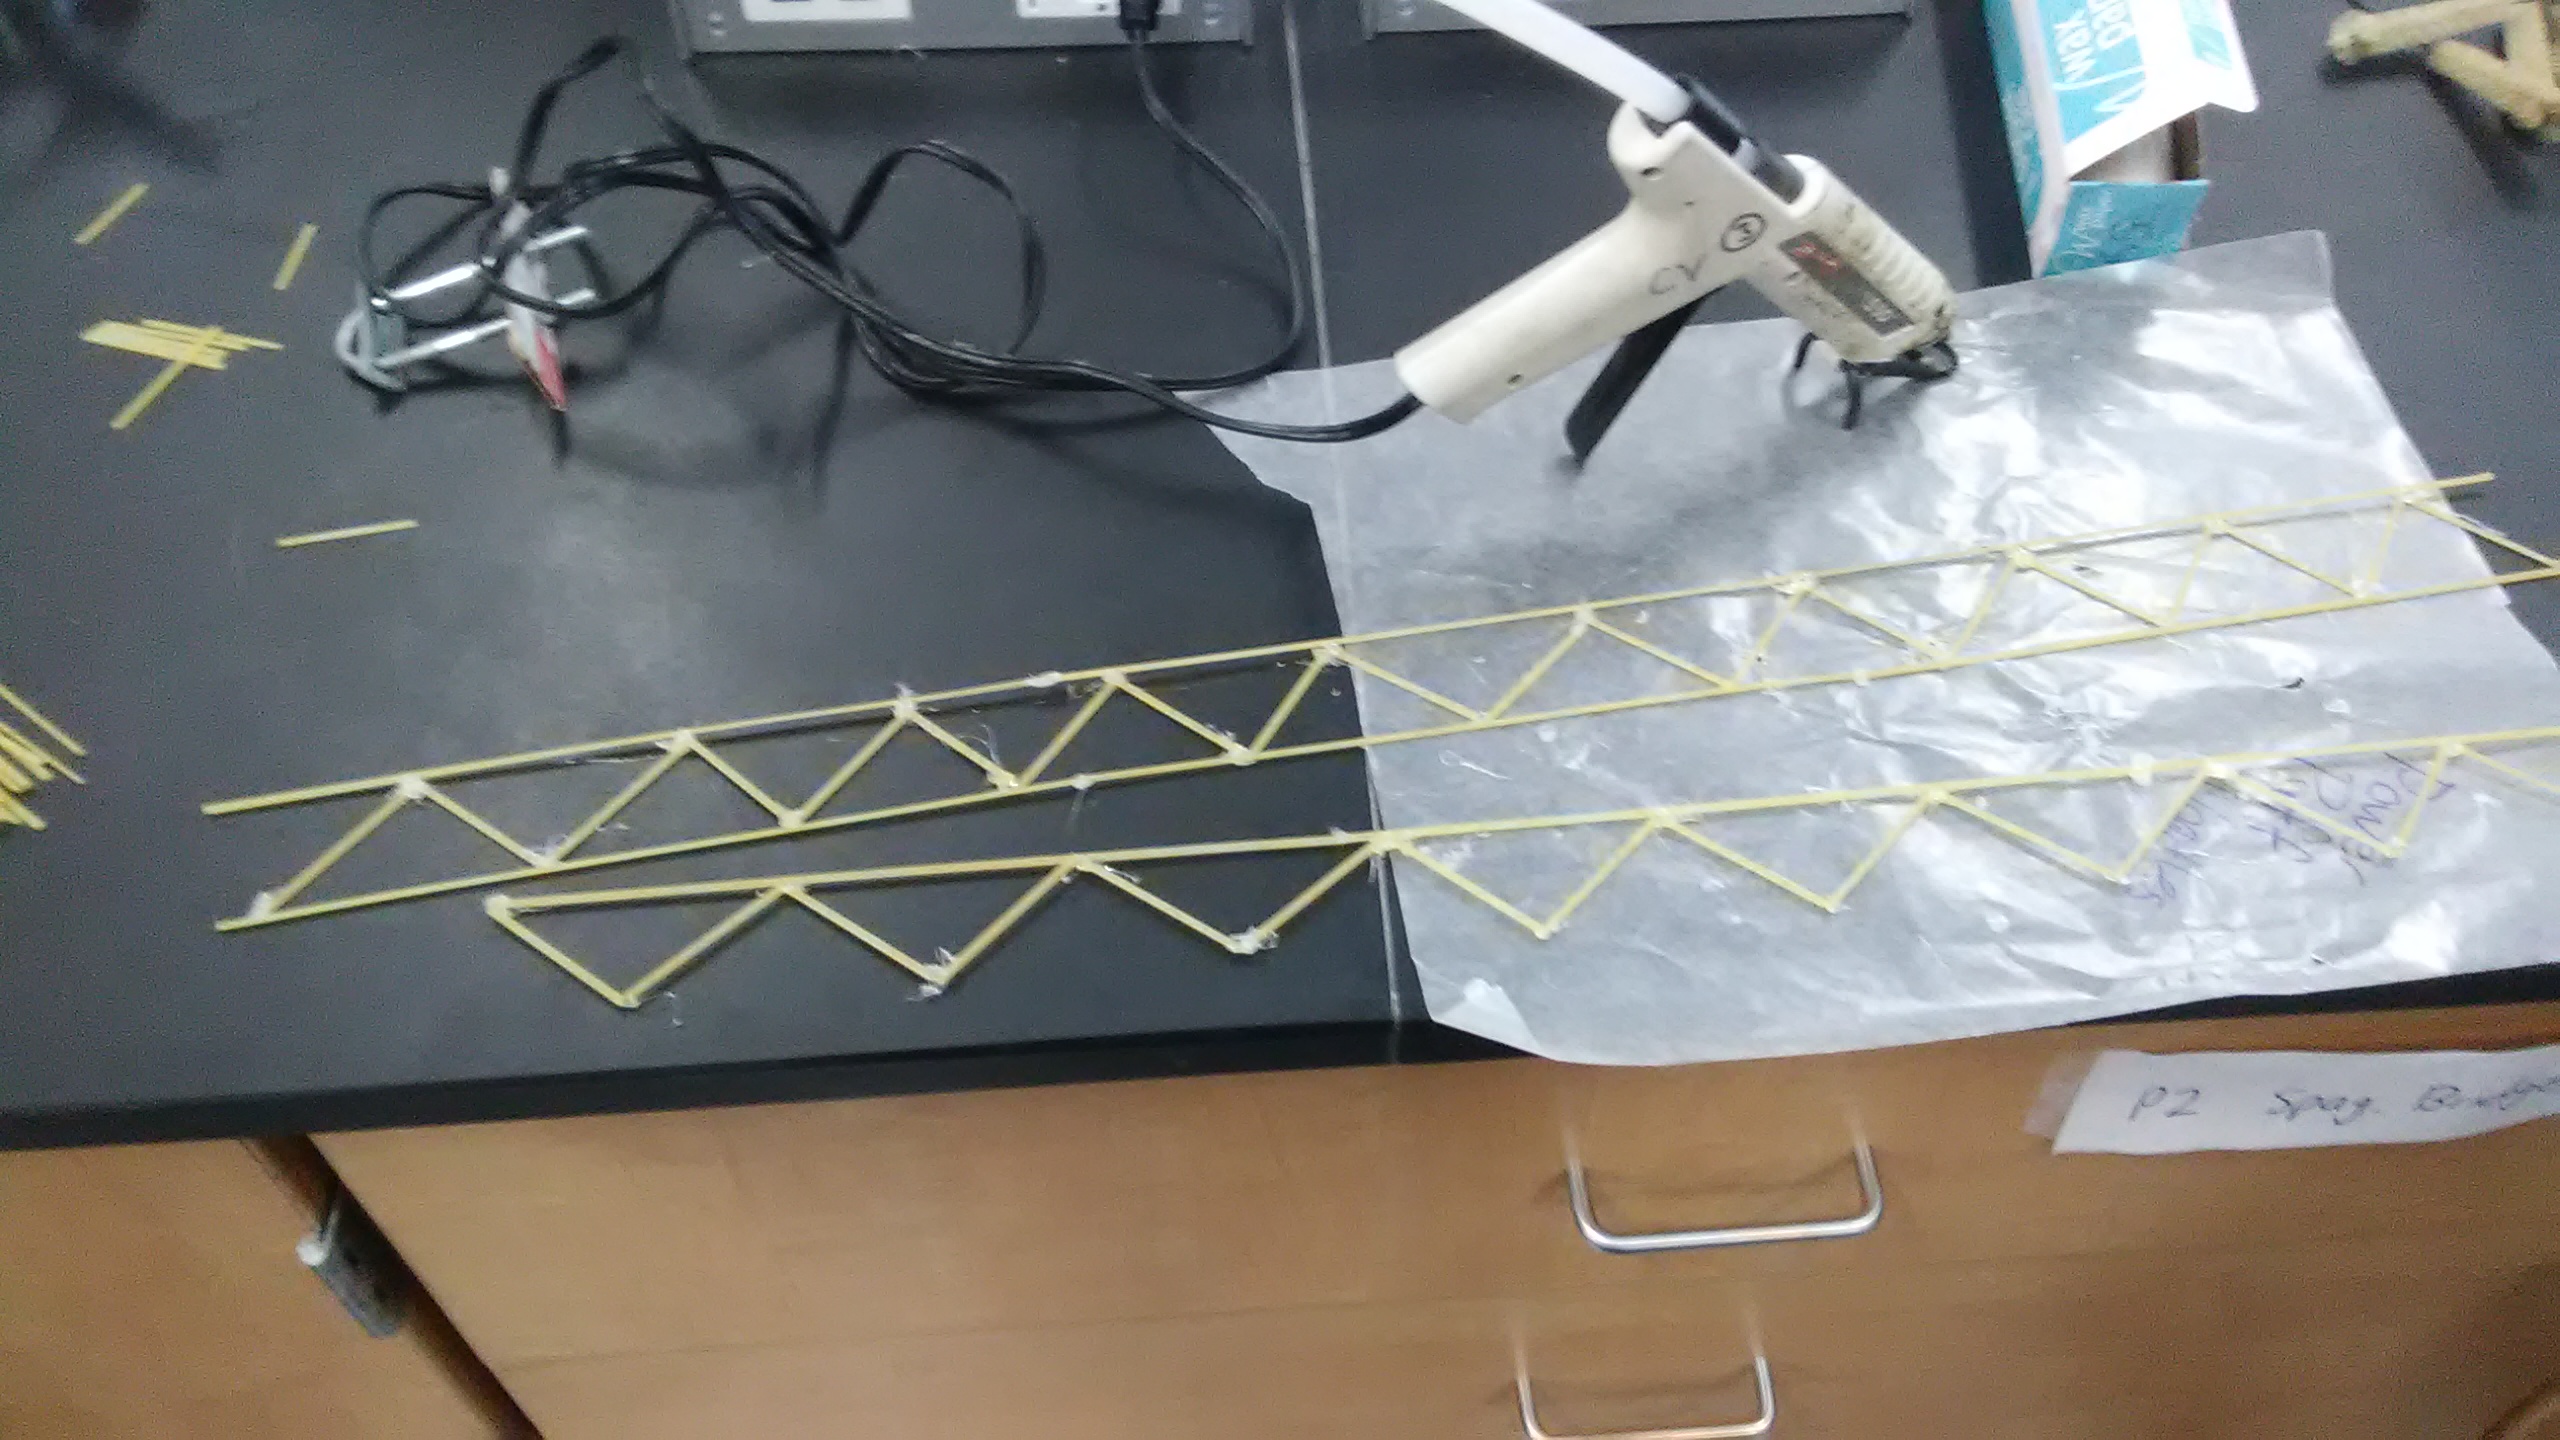
This is the construction of the first bridge.
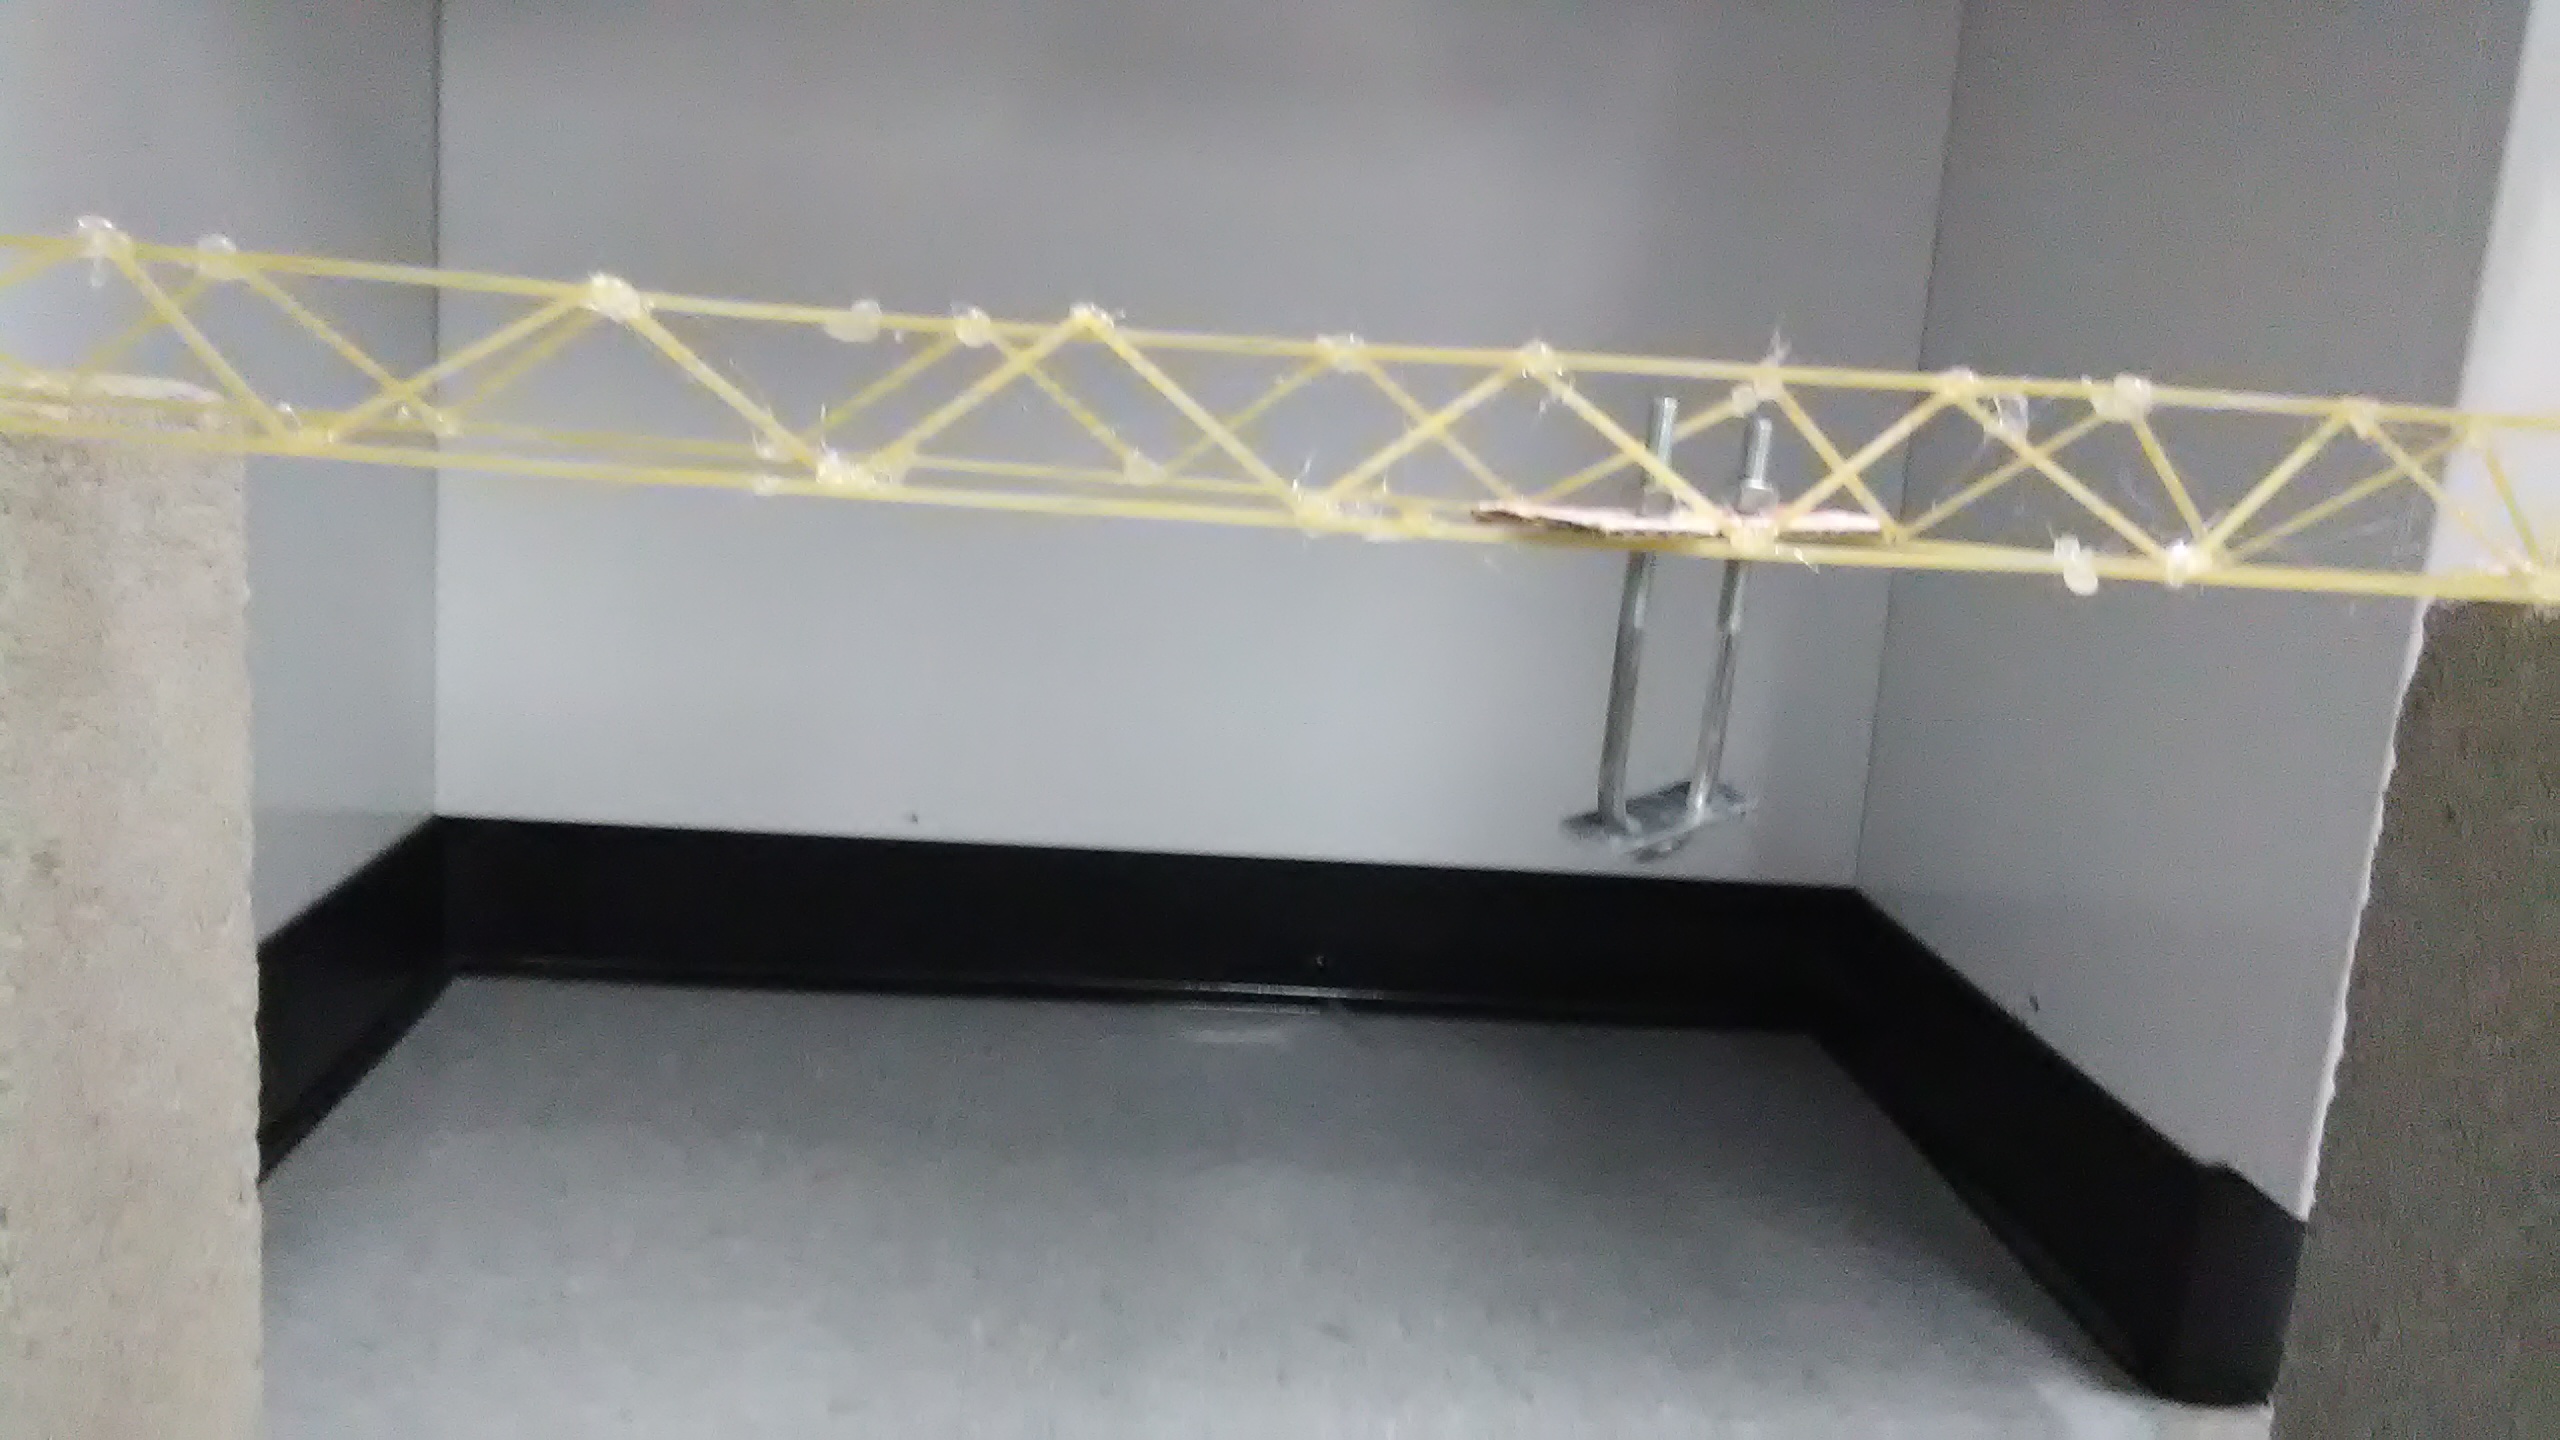
This is a better view of the bridge itself.
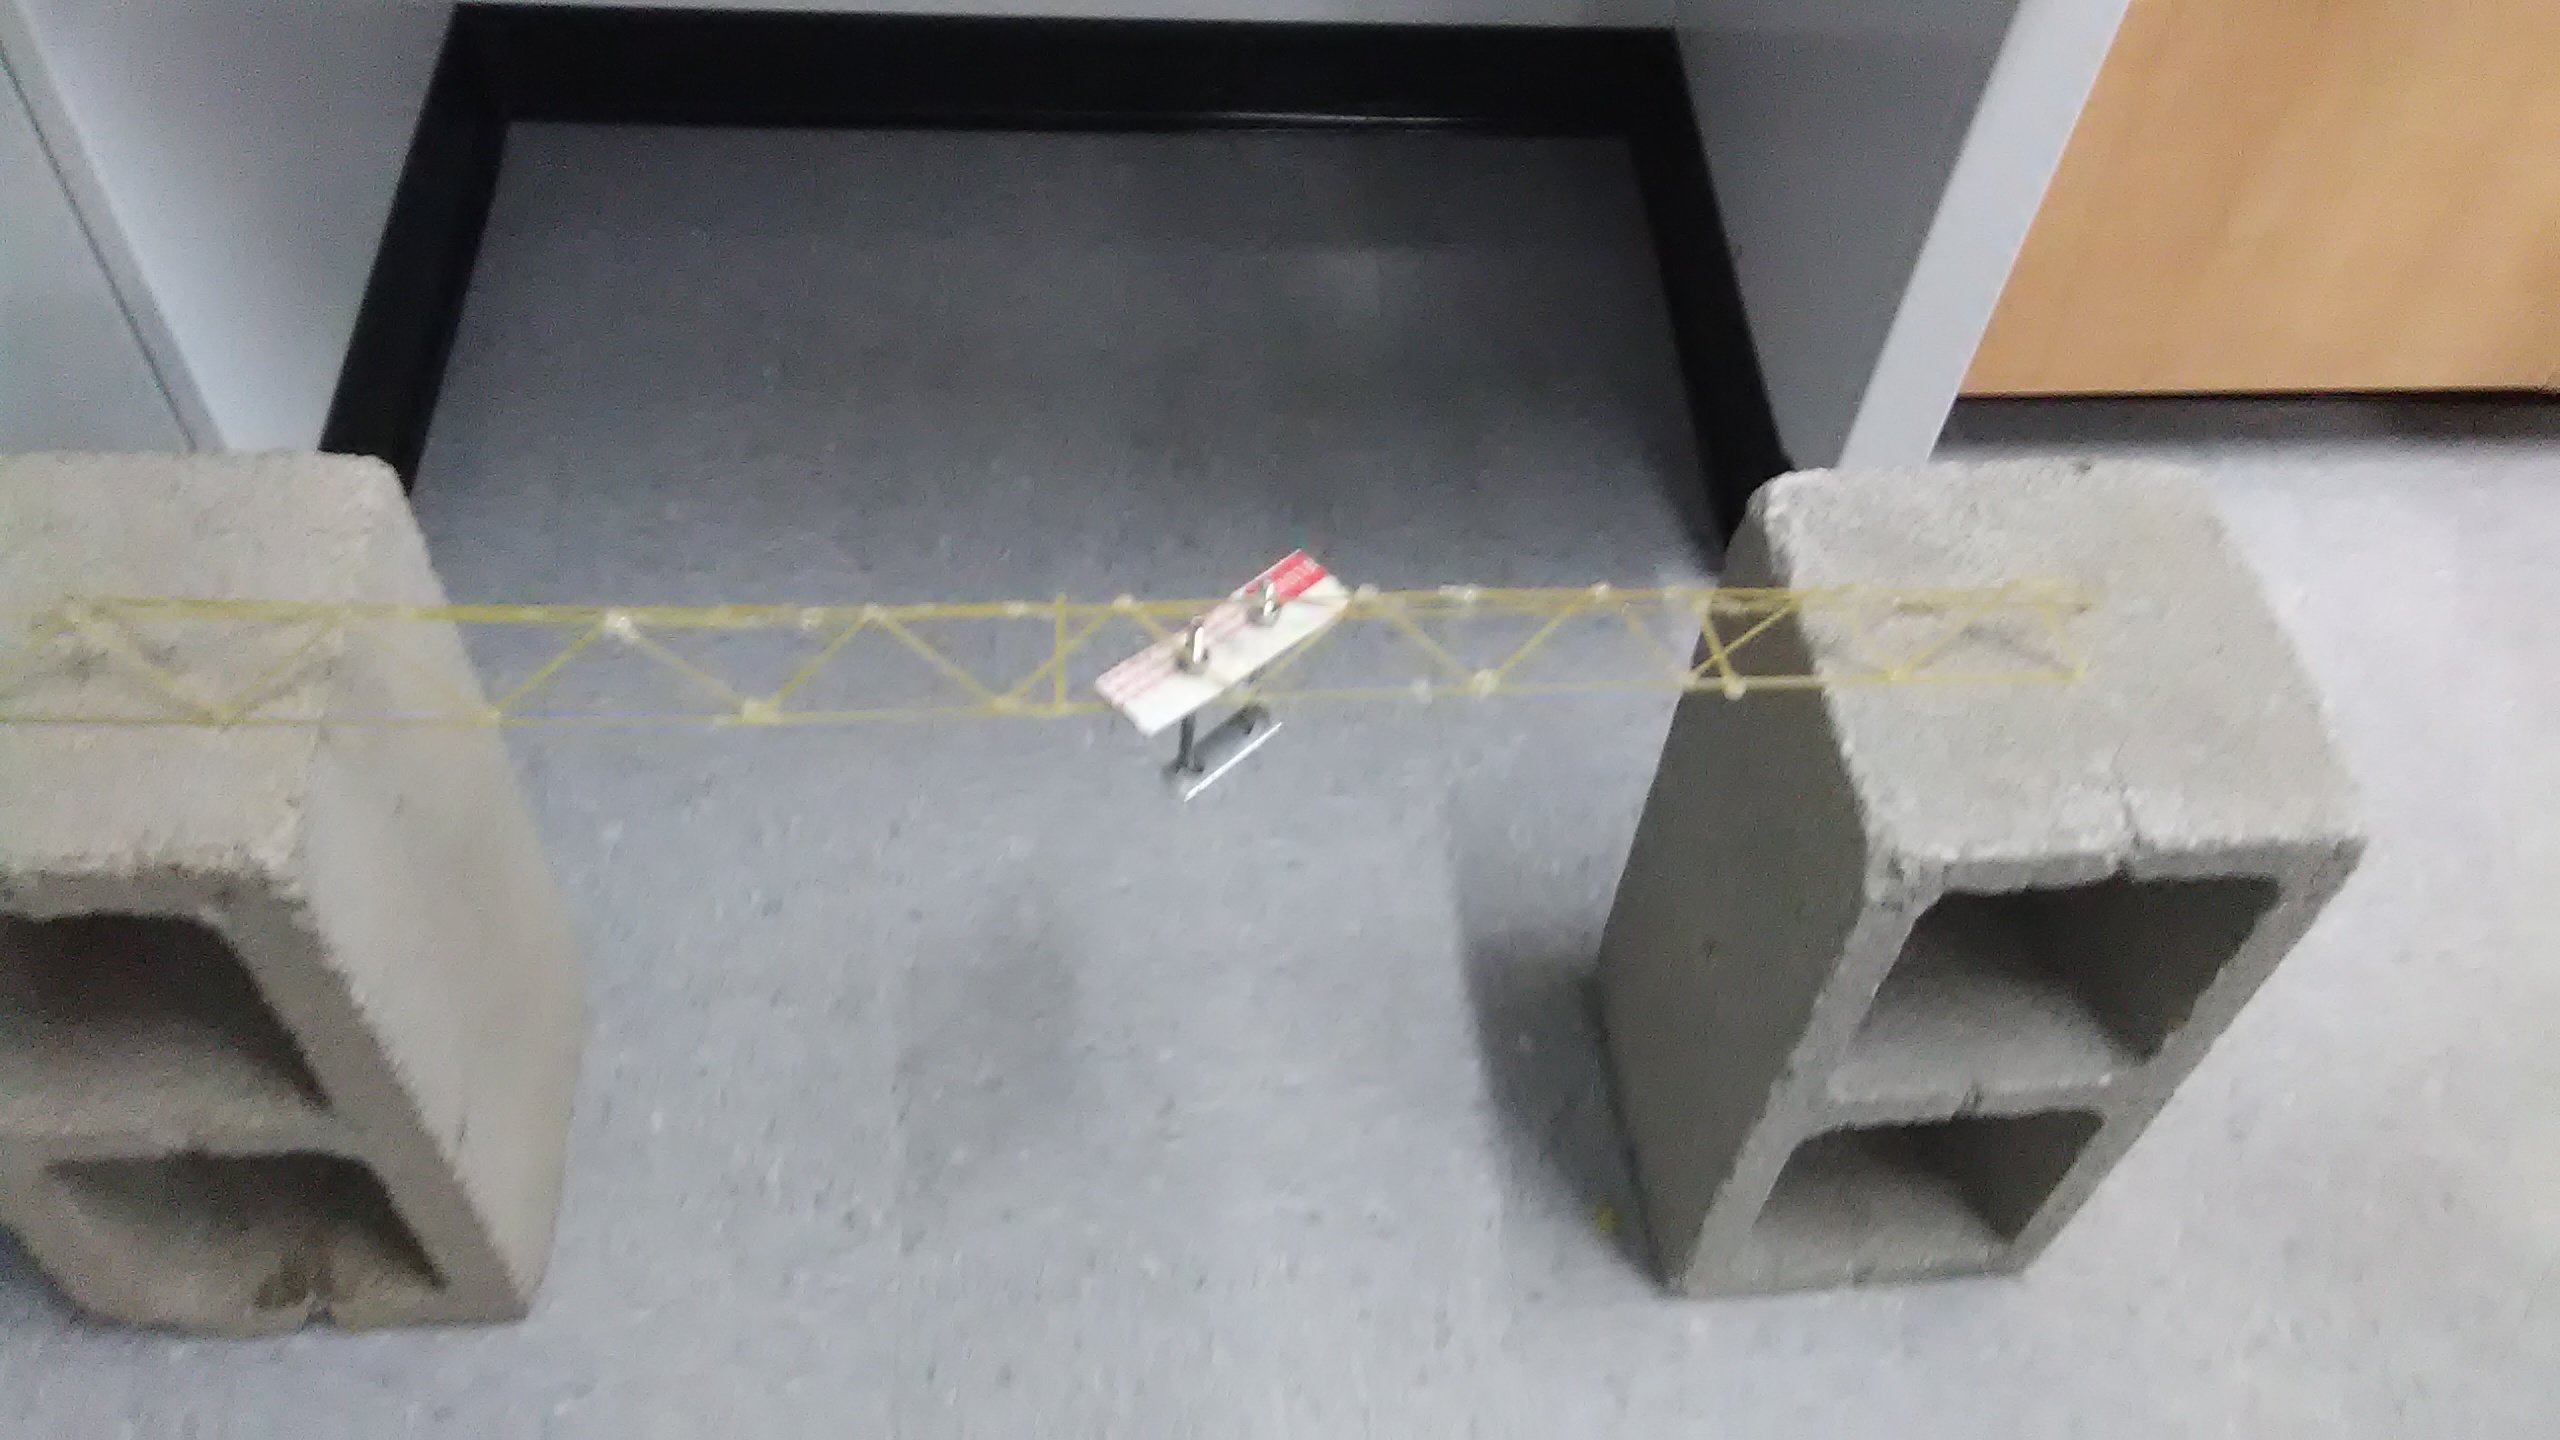
This is a picture of the bridge from above.
This is the construction of the first bridge.
This is a better view of the bridge itself.
This is a picture of the bridge from above.
For this chellenge we were instructed to create a paper airplane that can either go the farthest or stay in flight the longest. We researched which designs worked the best, how to best generate lift, and how to properly throw it. With this research, we took the best possible design, made it slightly larger, and extended the wings. We figured that this would allow it to fly farther and longer. Durring testing, the plane got from between 50 and 60 feet of distance with about 1.5 seconds of air time. For the competition, our plane got 20 then 25 feet. This was due to the wind wanting us to lose, seeing as everything else stayed relatively constant. The winners had an average of 37.5 feet.
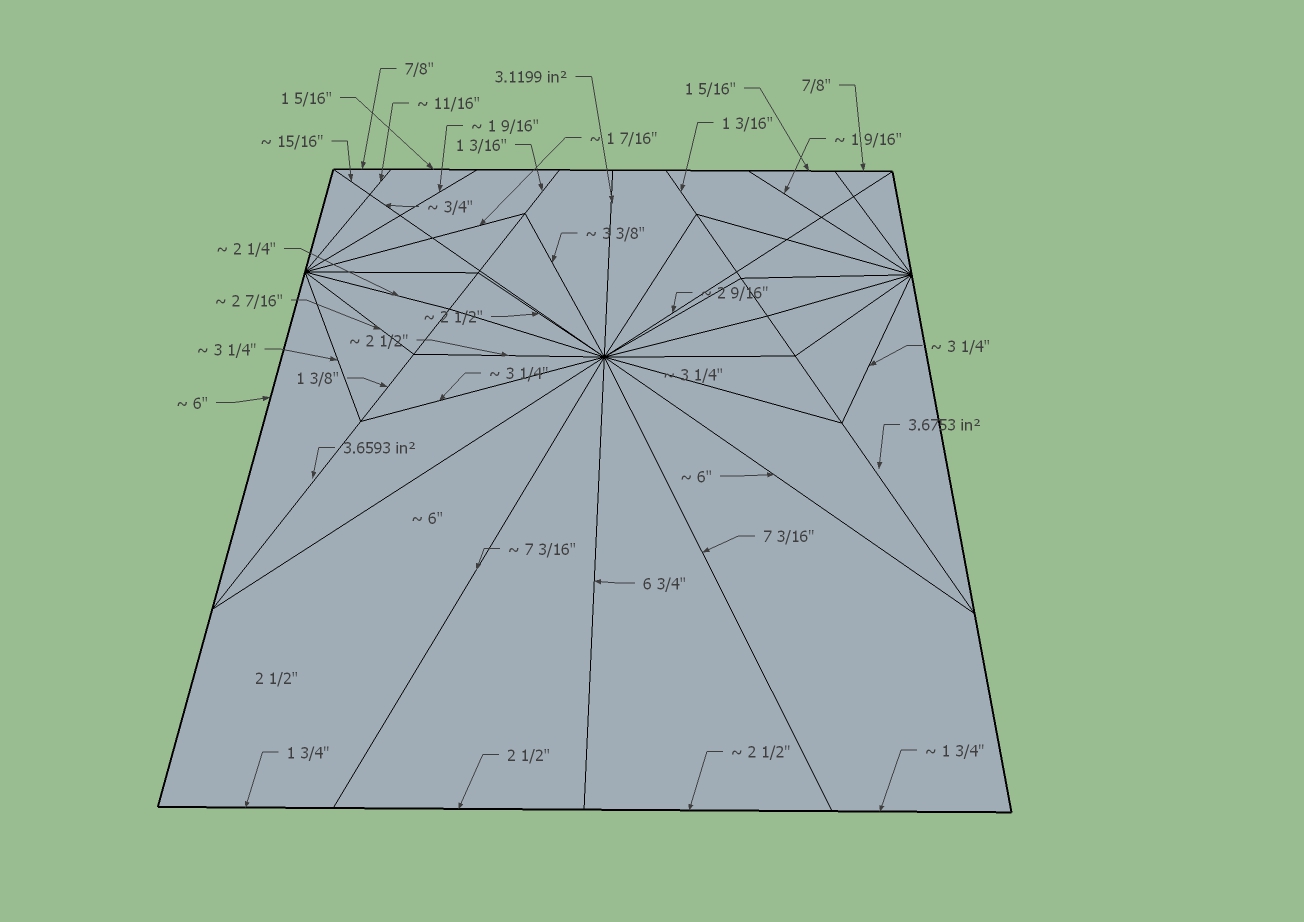
This shows the folds and lengths of folds from the plane used.
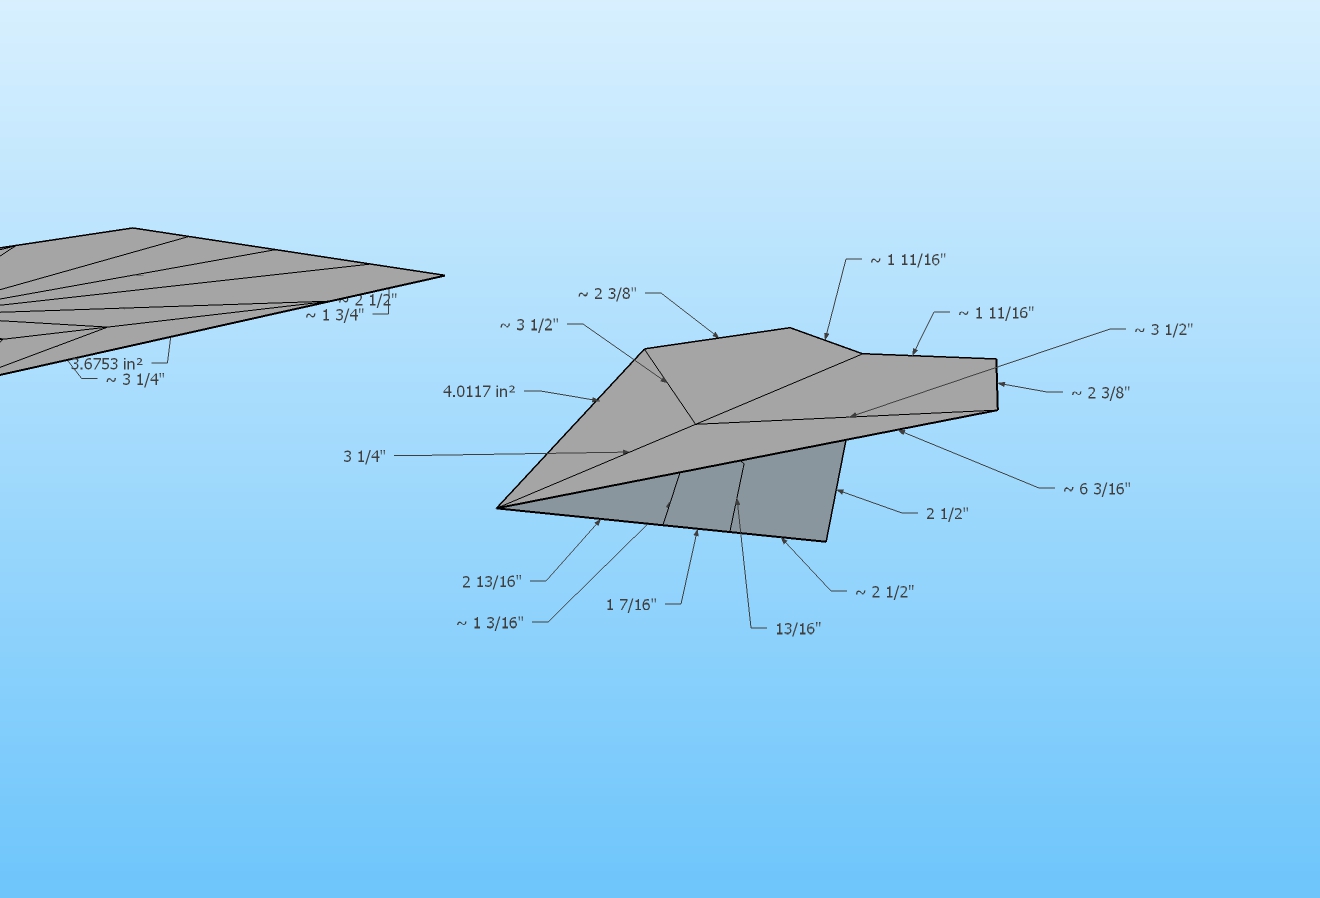
This shows the final plane with the dimensions present for the final design.
This shows the folds and lengths of folds from the plane used.
This shows the final plane with the dimensions present for the final design.
This was used as an introduction to CAD software. We were given multiple different objects or patters to CAD and were allowed to do those that we wished to.
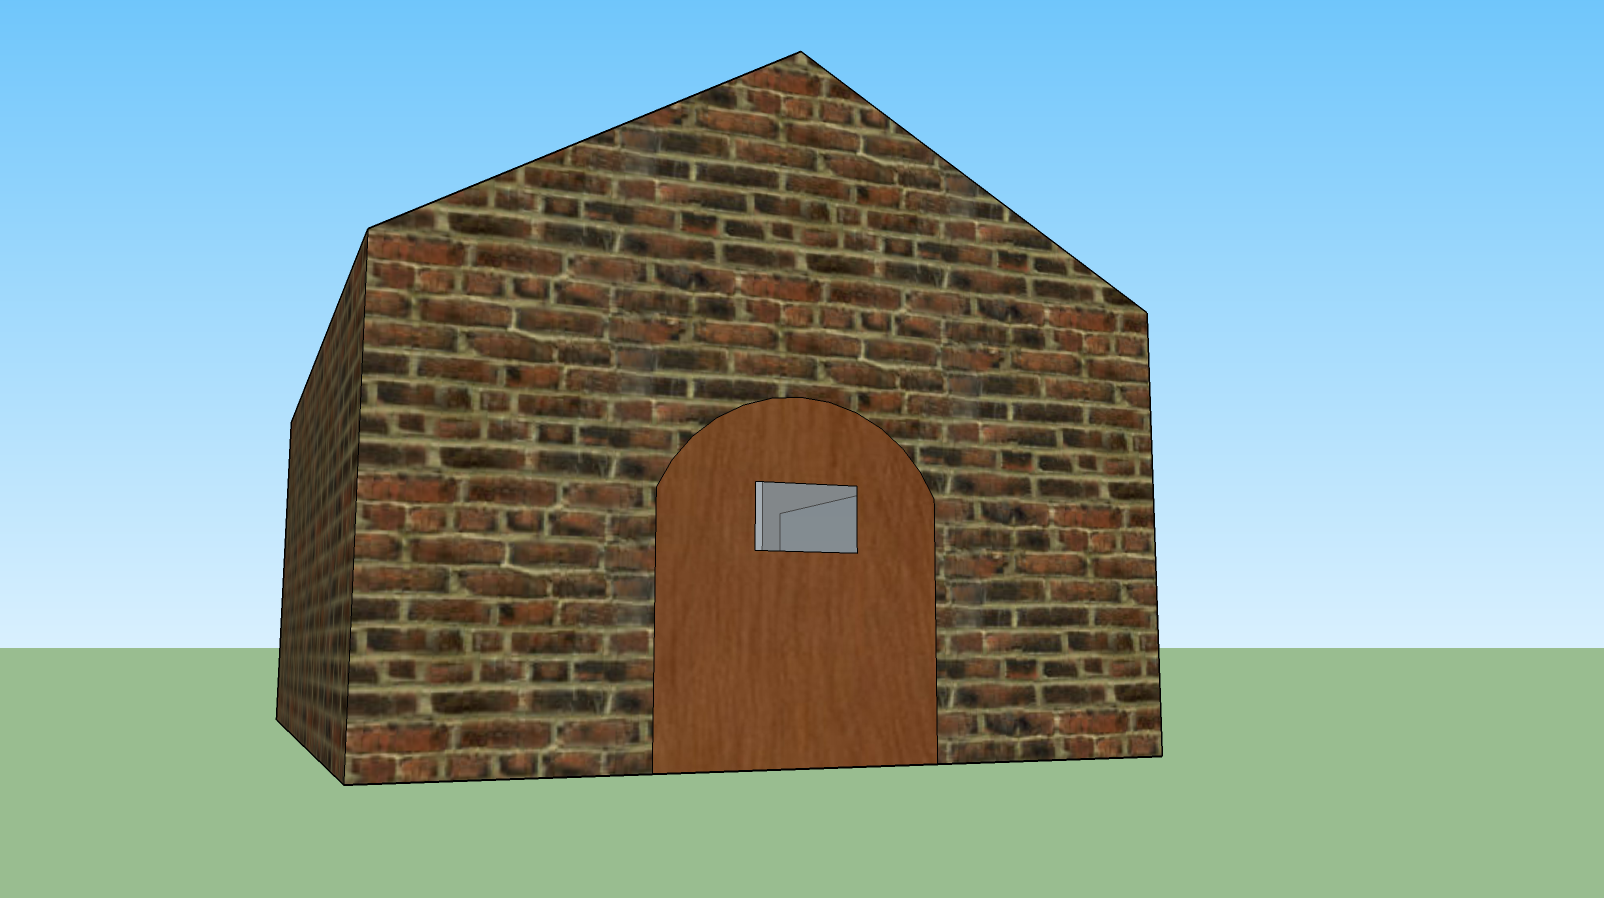
For this we were instructed to make a basic house with a window on the side. I decided to make the window a one way mirror, so I took the picture looking through the door.
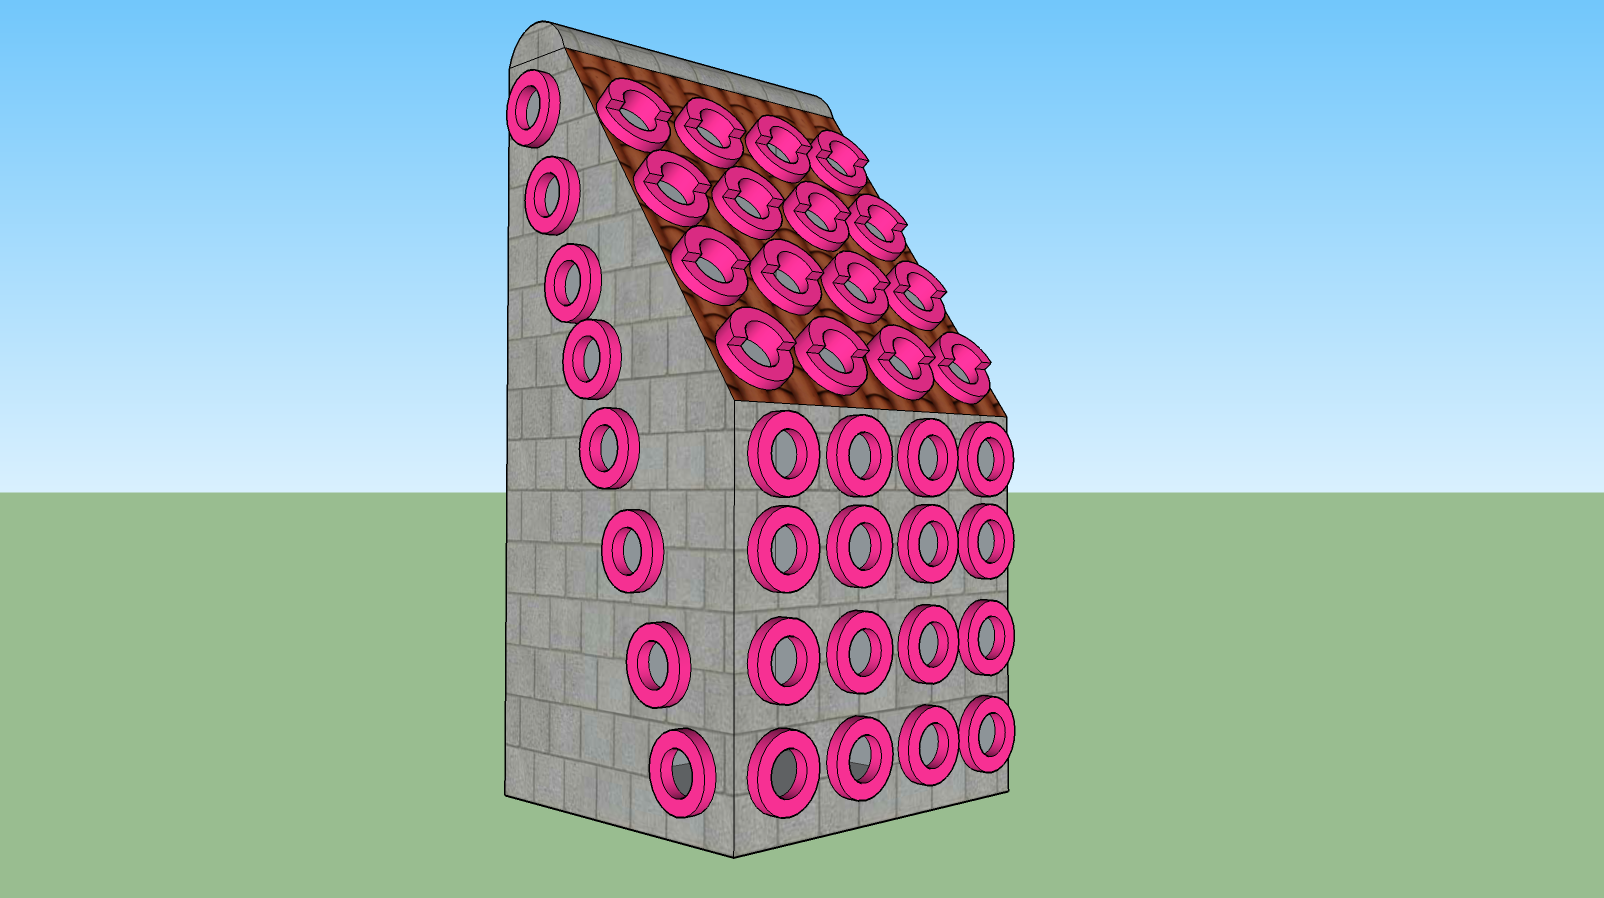
For this we were instructed to place the holes onto the base shape.
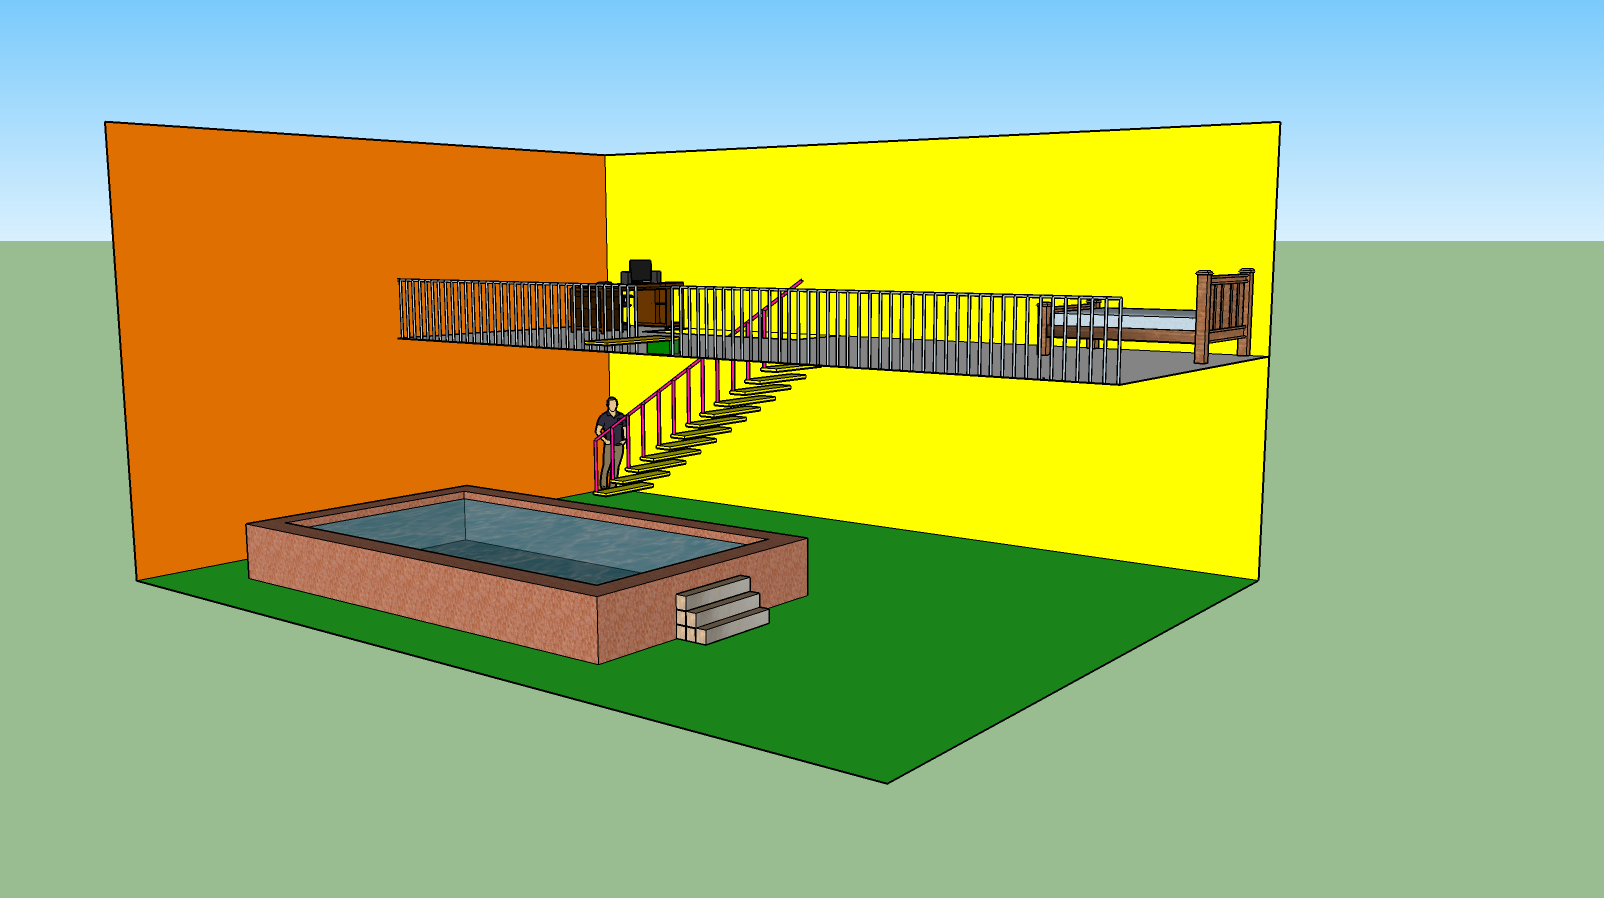
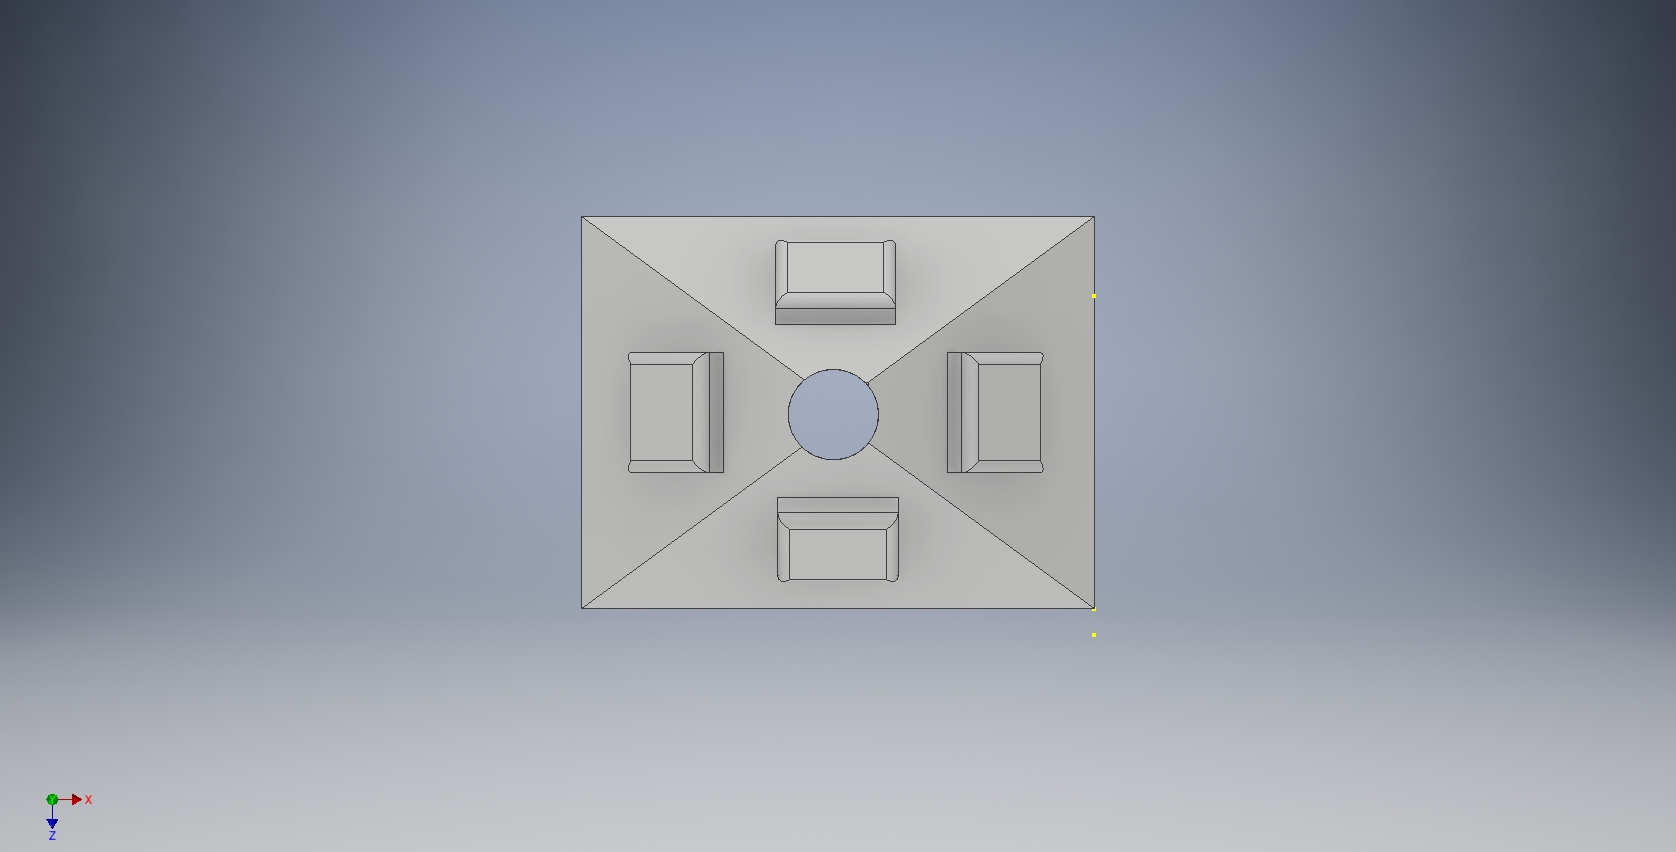
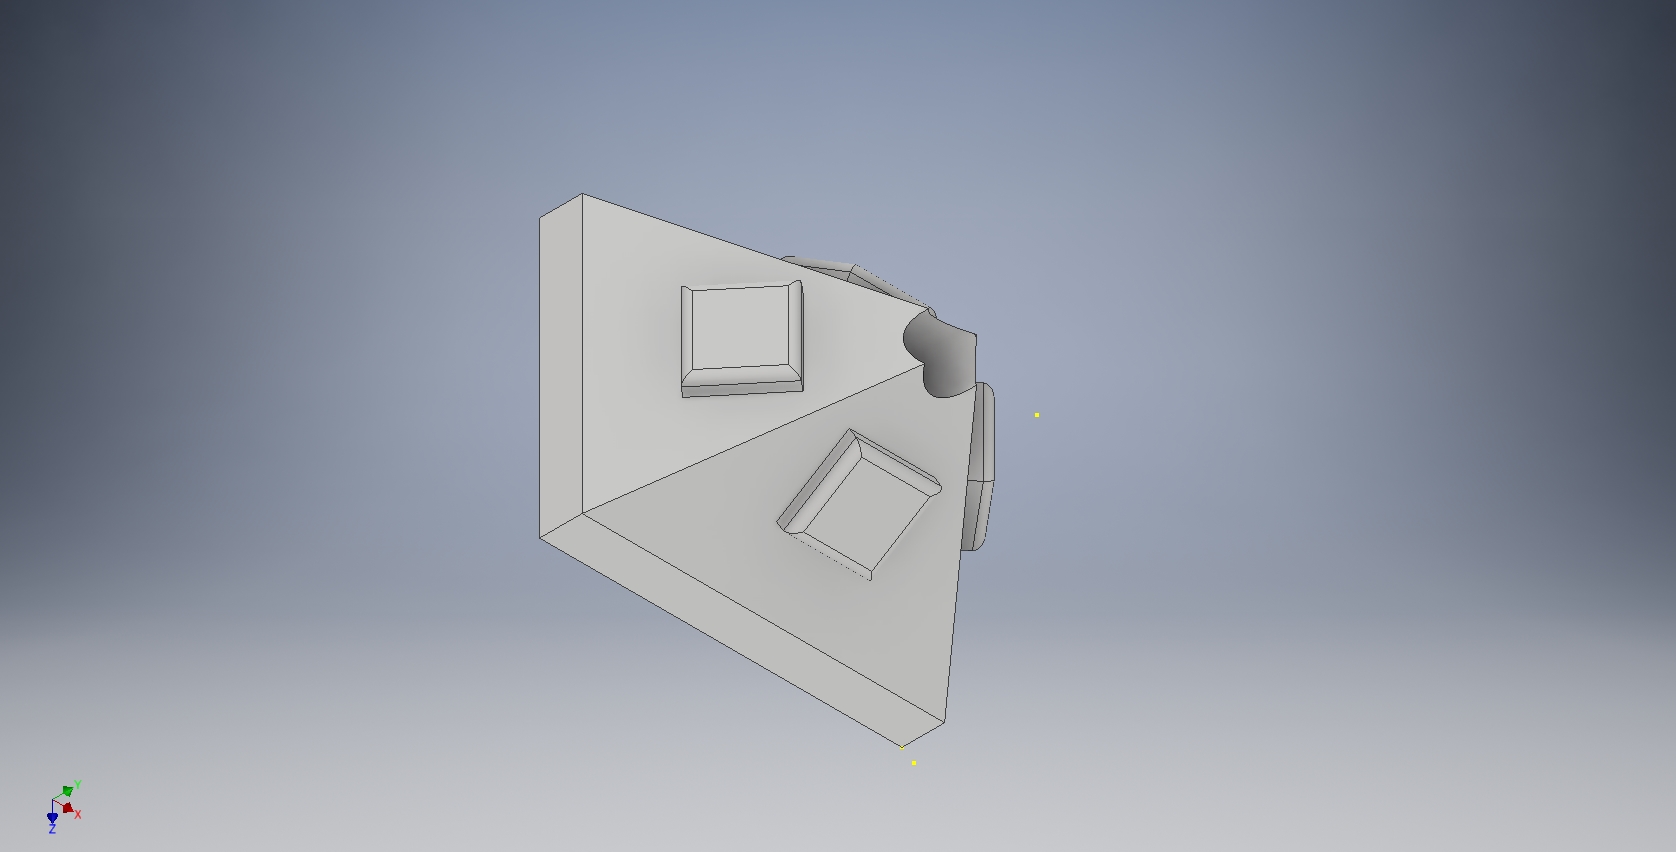
For this, we were instructed to create a room with a pool. I added some railings and furnature for effect.
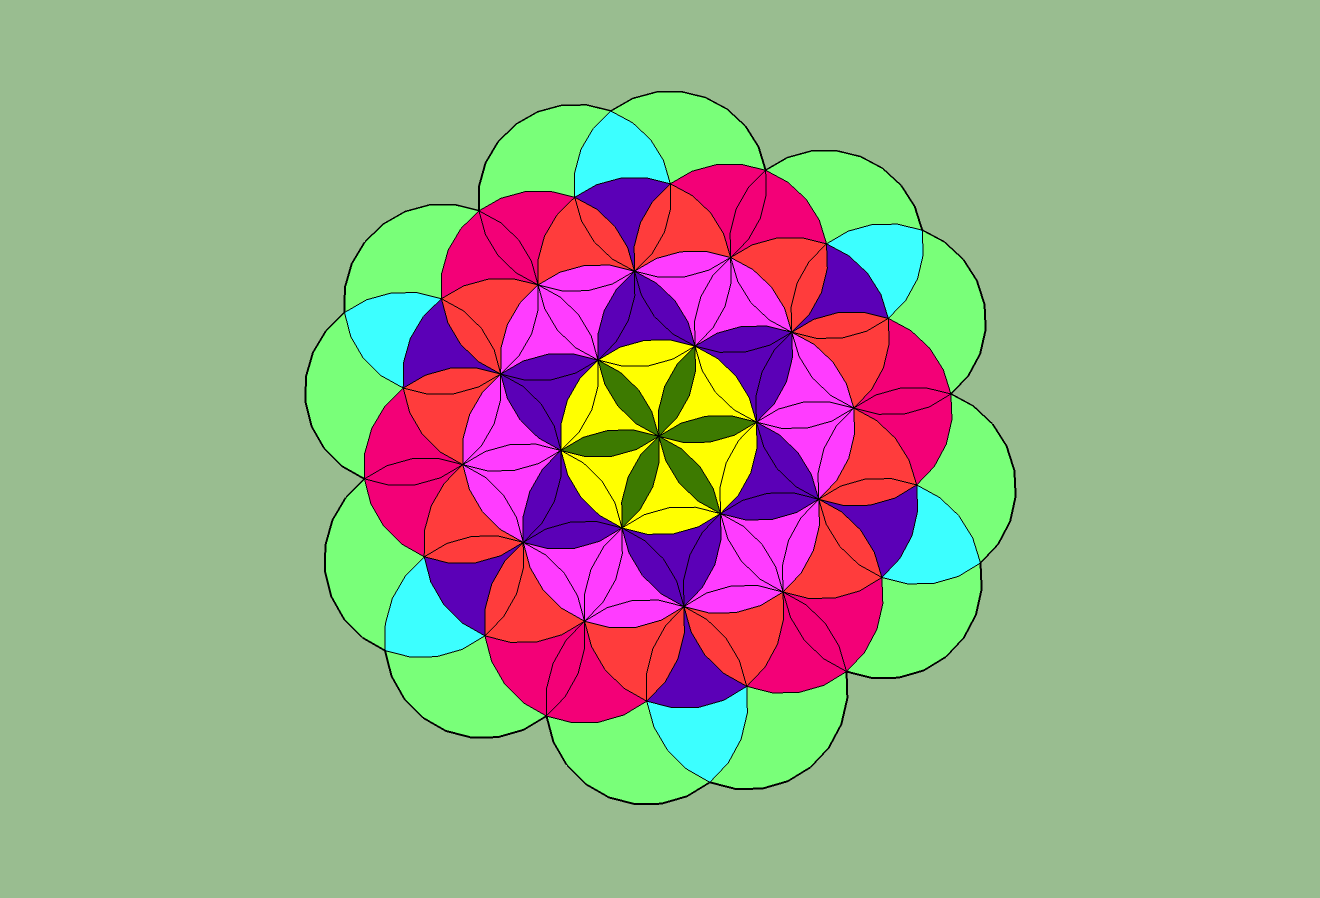
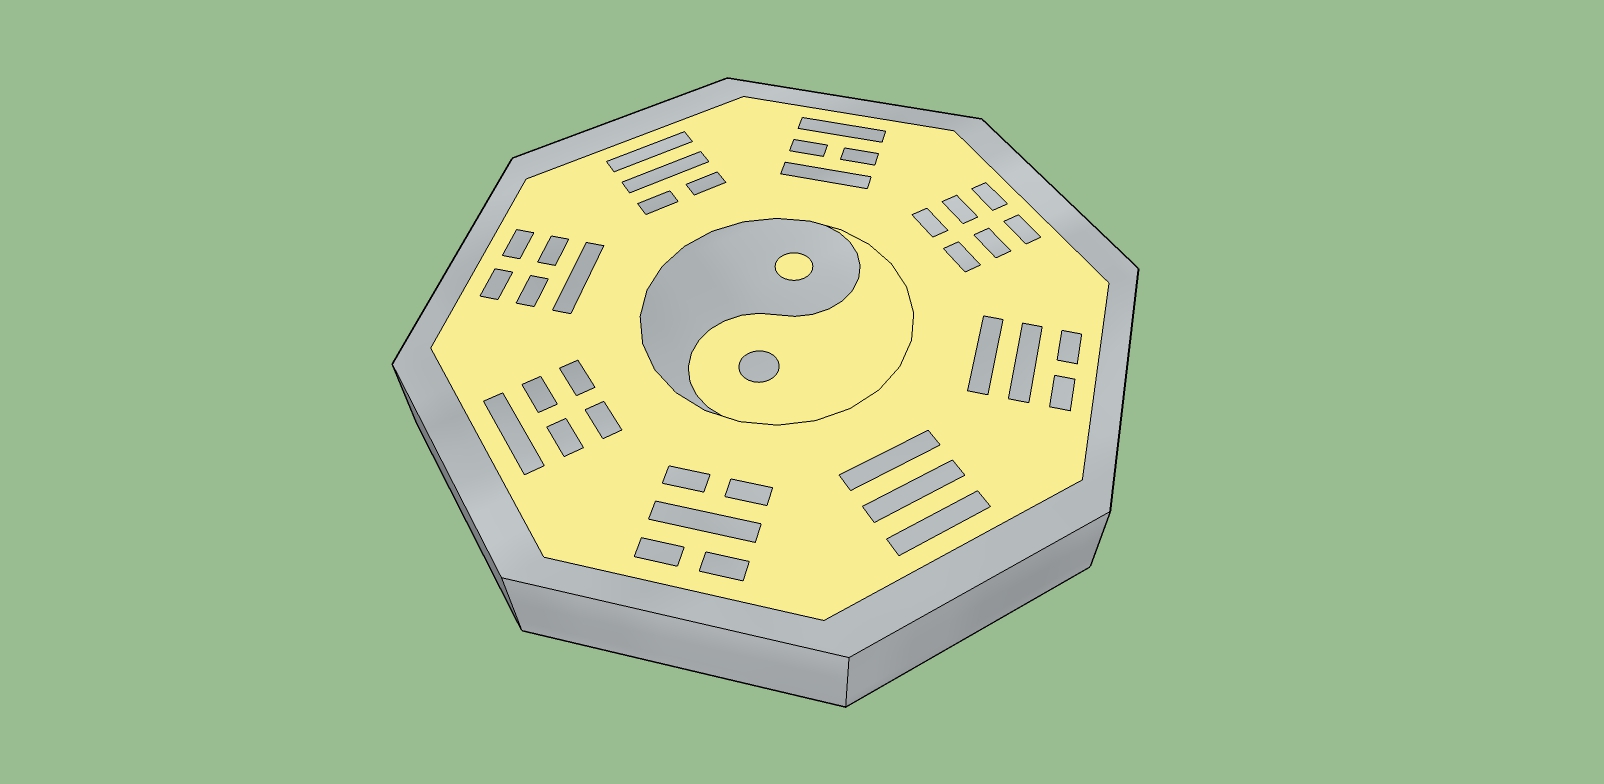
For this, we were supposed to make a colorful pattern.
For this we were instructed to make a basic house with a window on the side. I decided to make the window a one way mirror, so I took the picture looking through the door.
For this we were instructed to place the holes onto the base shape.
For this, we were instructed to create a room with a pool. I added some railings and furnature for effect.
For this, we were supposed to make a colorful pattern.
Bitcoin is a cryptocurrency, which means there is no physical aspect and is merely virtual coins coded to be self contained for their value with no need for banks to transfer them. These currencies are policed by multiple different computers, called ‘miners’, and are generated through complex computations. These currencies are unregulated by government, which is what made them so popular in the beginning. Bitcoin can be stored in personal hardware and stored offline, allowing it to be untouched while it grows in value based on public interest.
For the design, I did my key chain. The dimensions were for the most part too small for accurate measurements, so I had to estimate based off appearance.
For this challenge we were instructed to construct a recognisable object using random legos. One group member was chosen to be the leader and the rest simply followed their design. I was in a group with Michael, Jared, and Ian. Since this challenge was supposed to simulate real life engineering, we were given many different challenges to our process, such as me being changed from a team building a car to a team building a table, which was lead by Eric and Ivan. This group change didn't really effect the group too much, as the table was almost finished, however we had a majority of the table taken away and replaced with fairly useless magnetic pieces. This forced us to change from building a table to building a helicopter landing pad, with a helicopter, which was suprisingly recognised. My original groups construction failed, as they went from a car to a bunch of individual pieces simulating a happy meal, but the group I was changed to succeeded.
For this Wednesday challenge we were instructed to design an AI that would help students through their daily lives. For this challenge I was in a group with Ian and Michael. To start, we decided we wanted to help with sleep. With this thought in mind, we started designing a pillow which would have sensors which would measure heart rate, pressure, and movement to be able to tell the person using it how well they slept. It would connect to the users phone through bluetooth and, through an app, give them a rating on how well they slept and give tips on how to better sleep next time. The AI component would recognise sleeping trends and exclude data which would not relate to that certain user. With this idea, we got third place, with the winning group having simply described a basic tablet. I think that our idea, for what it was intended to do could not have been improved, and I think that the simplicity is what makes it work well.
For this Wednesday challenge we were instructed to design a paper table, which would be able to support a text book for atleast 2 minutes. For this challenge I was a judge and had no team, so we had no design. Groups typically just took the paper and rolled it up thickly, which worked well, however some groups built an actual table, which was interesting. No groups failed, so no groups won.
Walkable Cities: This solution suggests that cities increase the walk appeal of cities through redesign and additions to current walk ways to make them more appealing to pedestrians. This solution aims to reduce the use of cars and increase pedestrian traffic in order to reduce carbon emissions from cars. This solutions would remove 2.92 gigatonnes of carbon dioxide from the atmosphere, and due to the subjectivity and variability to the solution there is not total cost. However, it is estimated that it would generate $3.28 billion in net savings.
Telepresence: This solution aims to have people show up to work through a set of remotely controlled robots with screens to show the face, speakers and mics to convey vocal communication, and a wheeled base to move the set-up. This solutions will reduce CO2 emissions by 1.99 gigatonnes. The net implementation cost is $127.72 Billion, however the net operational savings is $1.72 Trillion. I did not realize that telepresence was a word, and videoconferencing was a new one for me as well. By not using this, we waste 115 billion hours of time in travel, as well as generating 7.2 gigatonnes of CO2 emissions.
Afforestation: This solutions aims to plant new forests where none were before. By taking currently unused land and converting it to forests, not only will there be more trees which are beneficial to the environment, there will also be more diversity in those locations, allowing more creatures to live in different areas. By doing this, CO2 emissions will be reduced by 18.06 gigatonnes. The net operational cost of this solution is $29.44 Billion, however the net operational savings is $392.33 Billion. While reading through, I was unfamiliar with Agroforestry and intercropping. In 2014 709 million acres of land were used for afforestation, this solution aimes to have 204 additional acres done.
For this challenge we were tasked with creating a structure that could survive a hurricane, simulated by a leafblower, for as long as possible with as little mass as possible. There was a minimum interior volume, which was 2,000 cubic centimeters, and it had to be able to fit in the space provided and there had to be walls, a roof, and a floor. We were allowed to weight it down with soil. I was in a group with TJ and Tyler, and we decided to start with a small box composed of notecards and construction paper, with two fins off to the side to hold dirt and anchor the house. This house also had cross beams inside the home to keep it from crumpling.
It looked like:
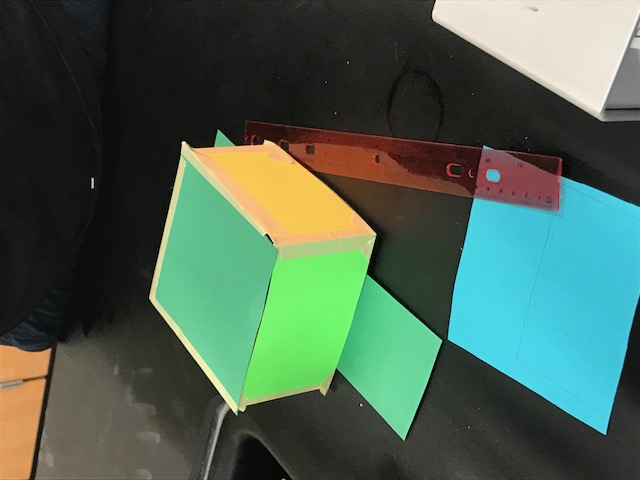
For our final design we mostly kept the same design, however we added volume since it was below the volume requirements. We added this volume in the shape of a pyramid on top of the cube we had already constructed. With the pyramid it fell within design parameters, and having a weight of 23.8 grams. For the challenge, our home failed spectacularly, not even getting a second of resistance resulting in our final score to be 0. Were we to recreate the project, we would increase the size of the wings, which were burried, in order to weigh down the house more, as it only failed due to the lightness of the house and the small ammount of soil supporting it.
It looked like:
For our final design we mostly kept the same design, however we added volume since it was below the volume requirements. We added this volume in the shape of a pyramid on top of the cube we had already constructed. With the pyramid it fell within design parameters, and having a weight of 23.8 grams. For the challenge, our home failed spectacularly, not even getting a second of resistance resulting in our final score to be 0. Were we to recreate the project, we would increase the size of the wings, which were burried, in order to weigh down the house more, as it only failed due to the lightness of the house and the small ammount of soil supporting it.
For this wednesday challenge we were tasked with creating a droppable container that would hold an egg and survive a 12 foot drop. I was in a group with Kira and Ivan, and our strategy was to place a balloon on the bottom of the container, which was composed of two cups stuffed with bubble wrap taped closed, and weighting the balloon. With each test that we did, we realized that we needed to keep adding weight to the bottom of the balloon in order to have the egg fall on it, but we did not achieve that as well as we had wanted. Our egg survived the drop, however it strayed too far from the designated point due to the wind and did not land on the balloon, which meant that we lost. Were we to recreate this project, we would add more weight to the bottom so as to allow for better and straighter drops as well as increasing survivability for the egg.
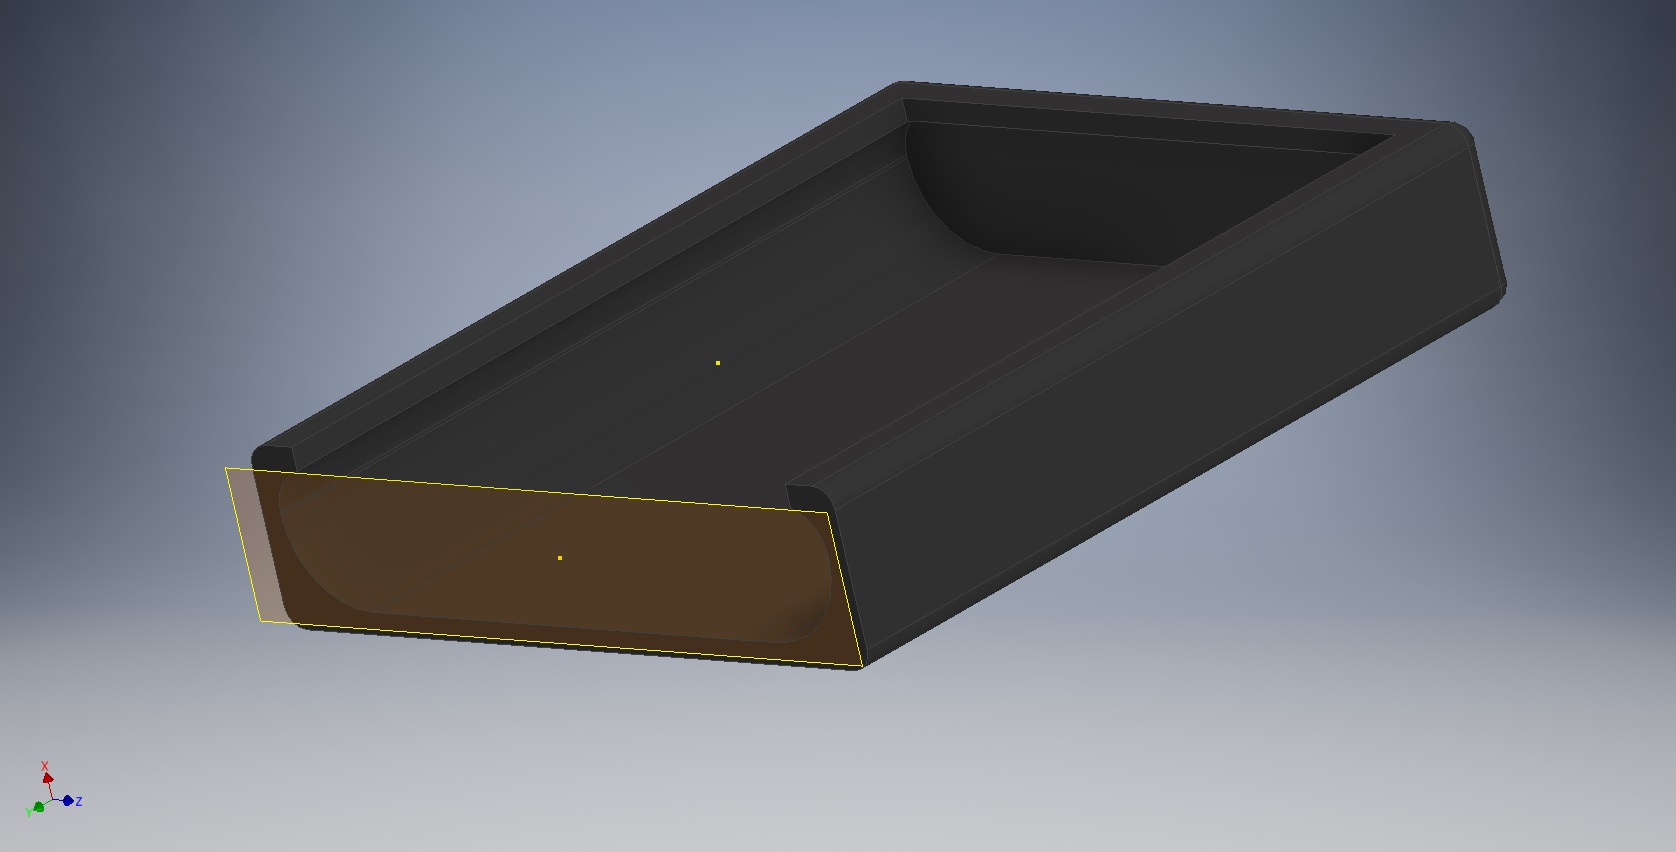
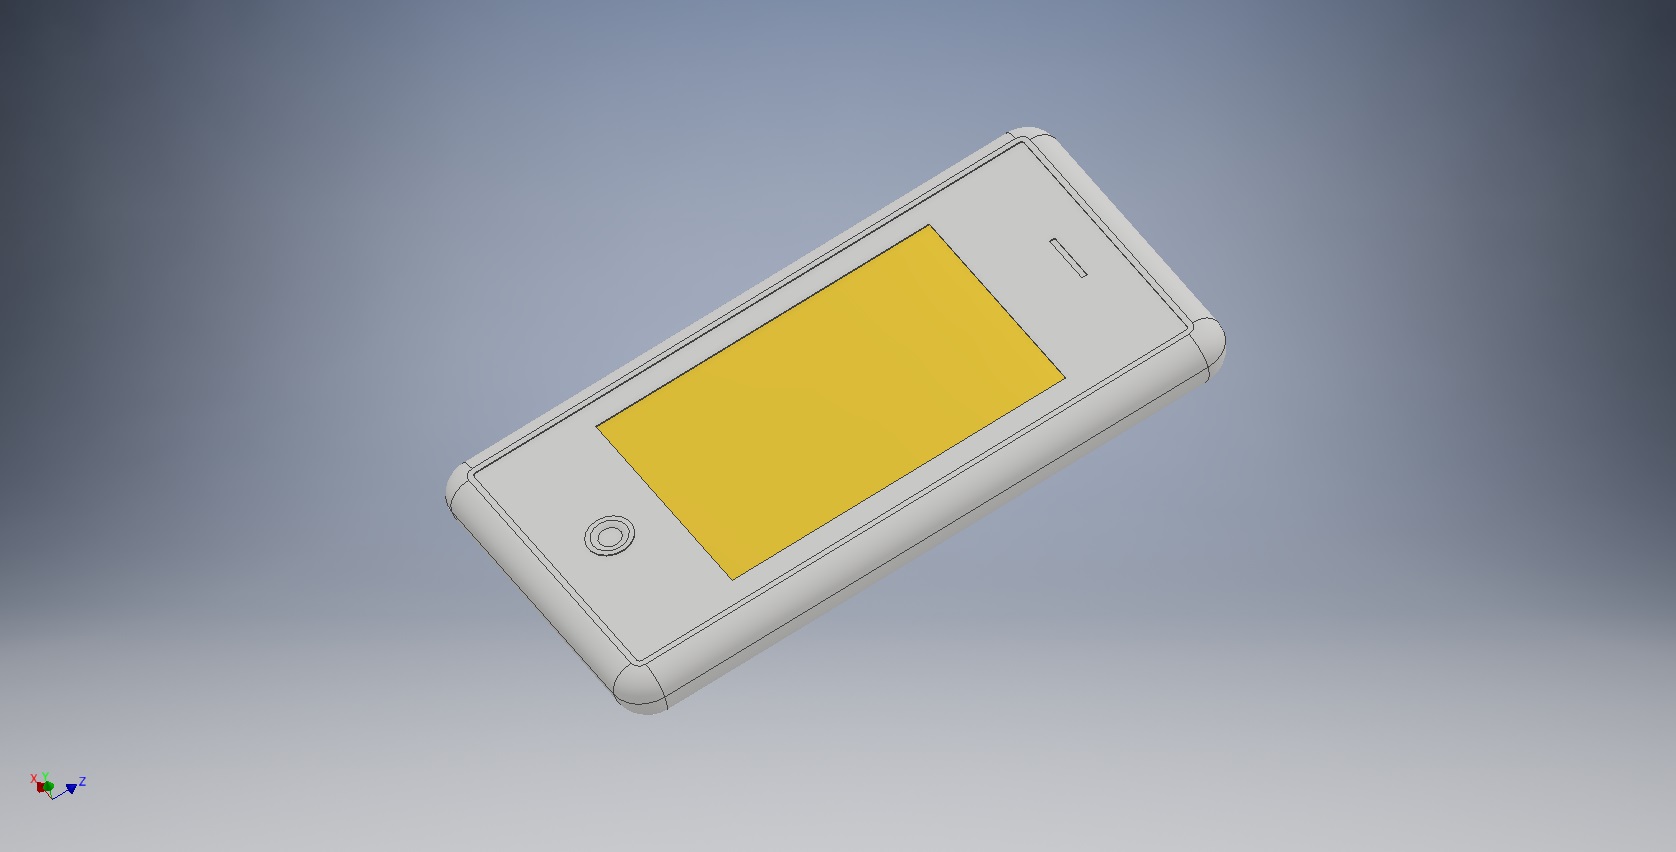
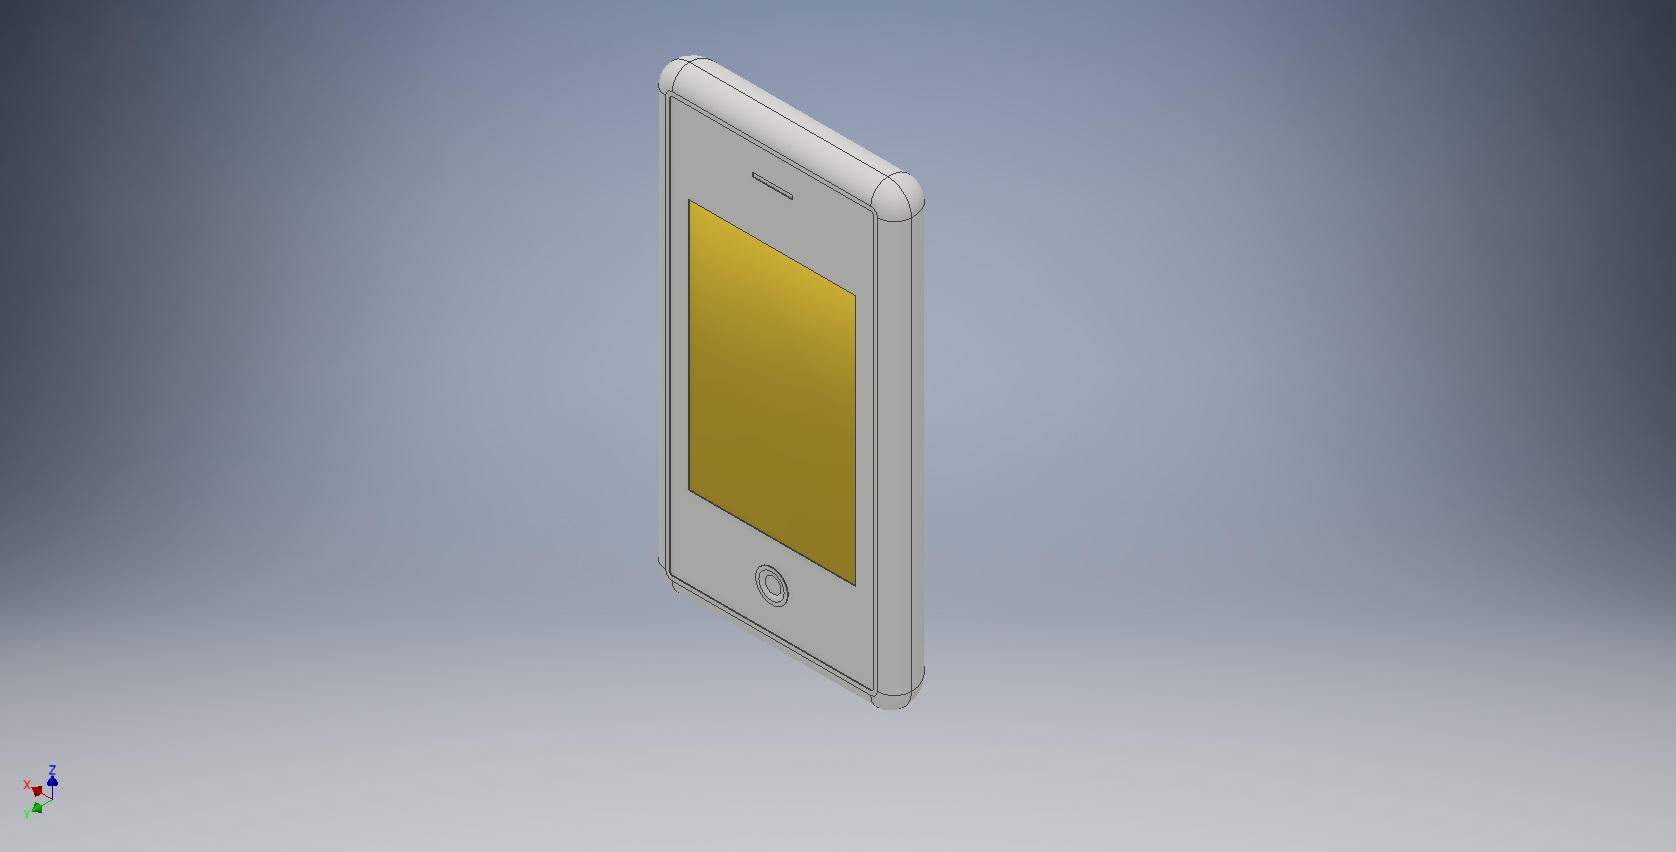
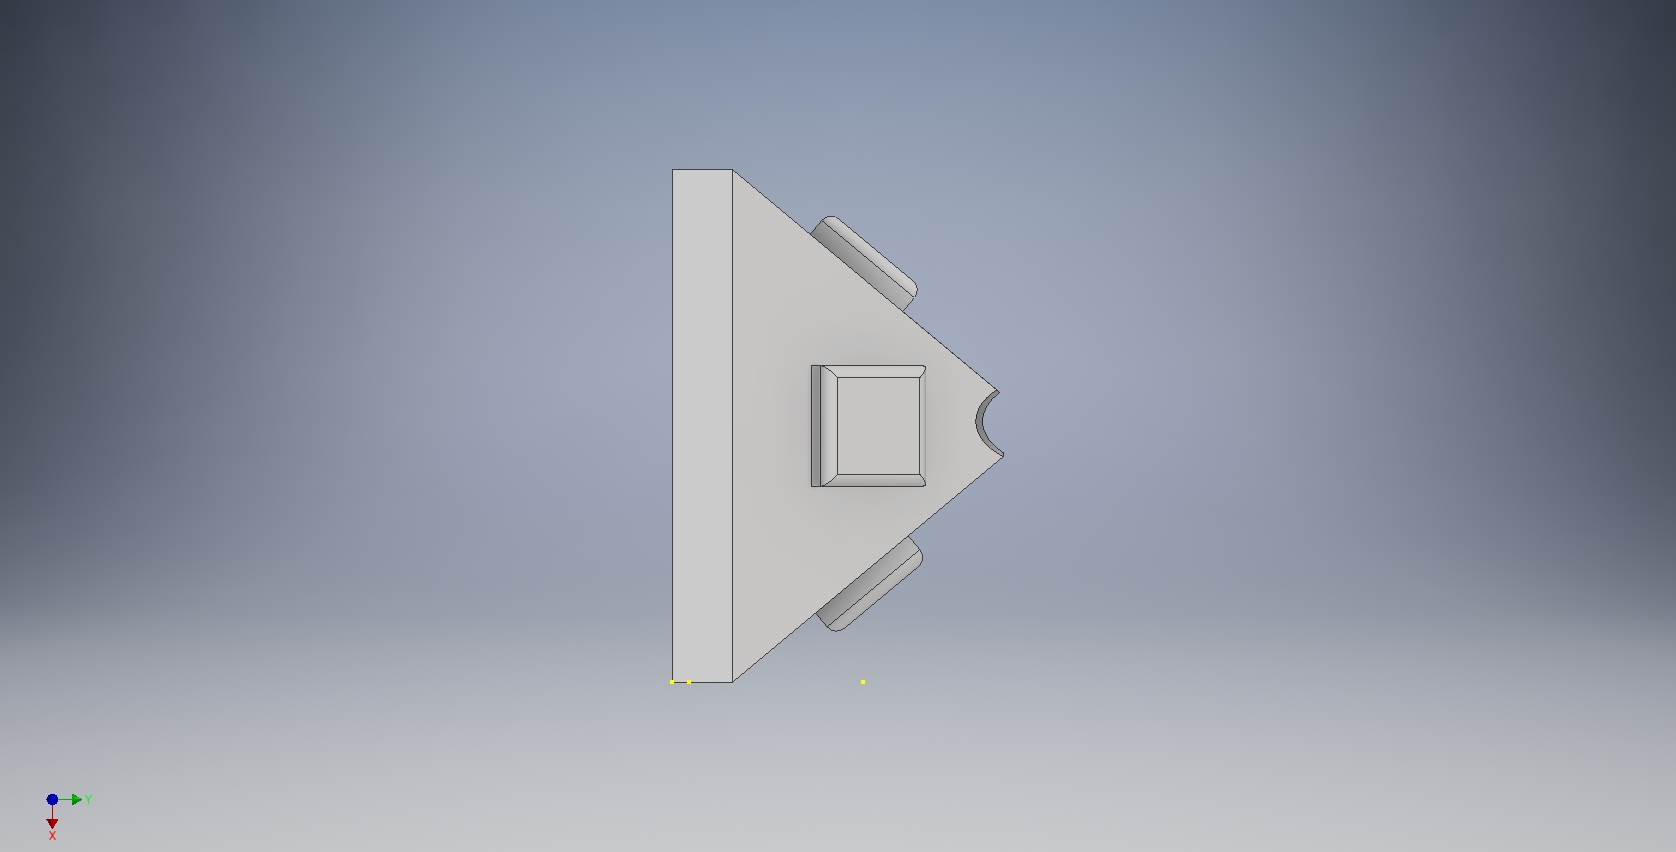
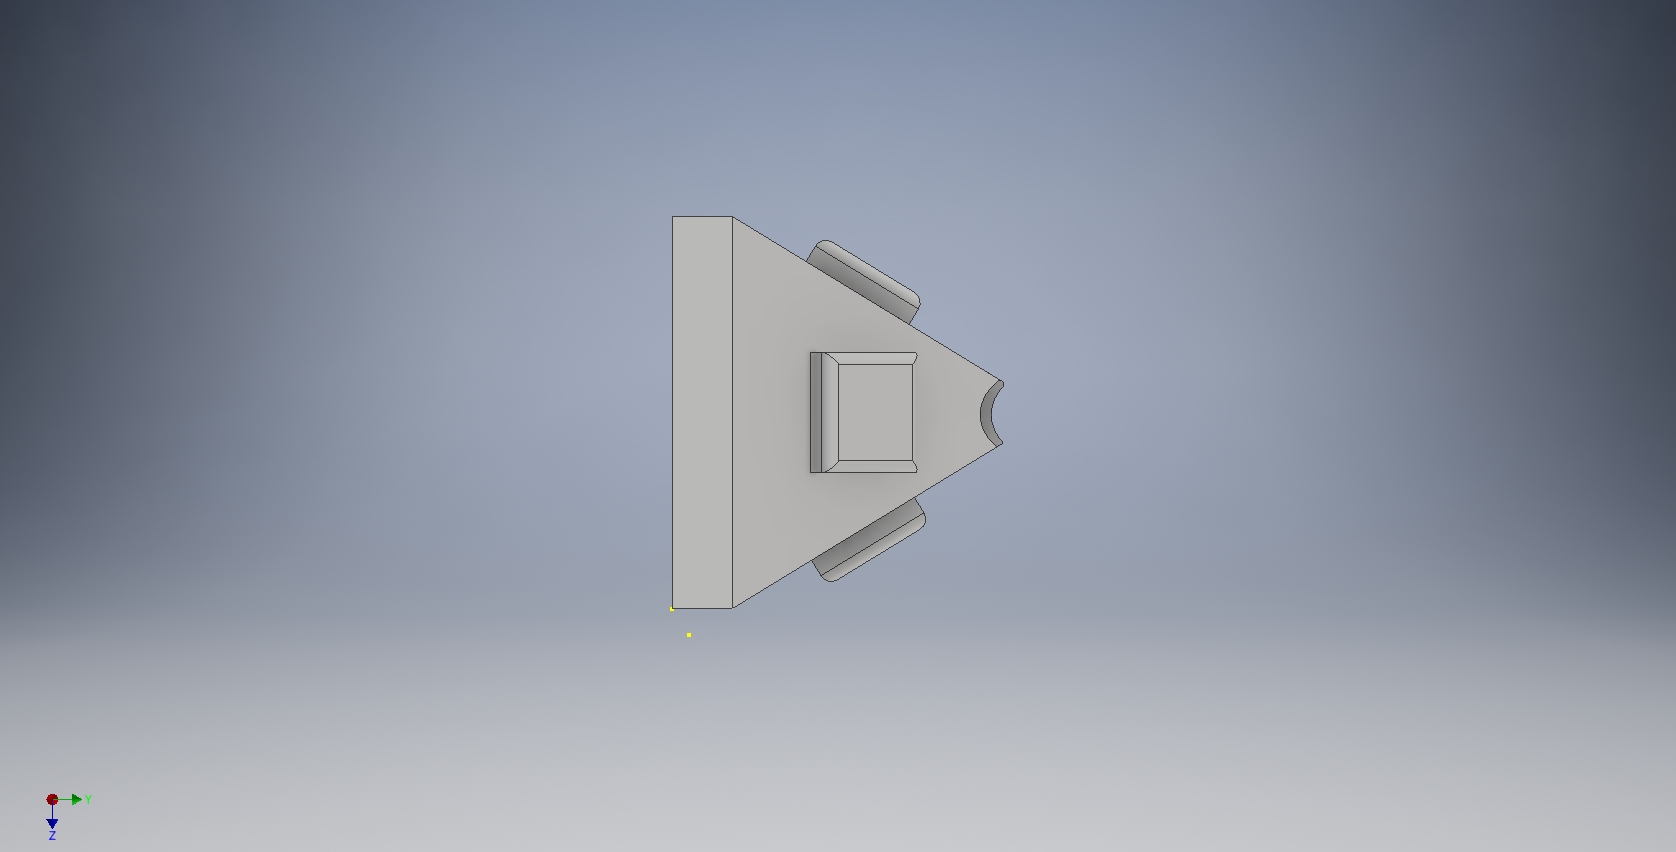

These final five images are my final project for this class. This object started with a 85mmx65mmx10mm cube, which then turned up to a pyramid up another 45mm. I then cut a 15mm diameter hole in the top, taking off the point, allowing a ring to fit over the top easily. Then, I added the rectangles on the sides and rounded the corners to ensure larger rings would not fall farther than desired. I came up with the idea after measuring the diameter of the ring I had made and decided that I could easily make a ring holder out of the pyramid I already had. I decided to start with a pyramid, because that was an easy to make base. Then, I cut the hole out, because that would make it look more interesting. I checked to see what the edges would look like if they were rounded, and they looked terrible, so I undid that. I then added the rectangles on the side and curved the edges because I liked the thought of having them there.